Contrary to what you often see on social media, you don’t actually need a huge Mercedes Sprinter Van in order to enjoy the outdoors while living comfortably out of your car for extended periods of time. I’ll admit that my Tahoe is on the larger side (and I certainly pay the gas price for that) but I’ve seen people live full time in much smaller vehicles like a Honda Civic or even a Toyota Prius!
If you haven’t seen it already, I started my car camping journey with a bed platform that I built in my 2006 Chevrolet Tahoe. I documented my entire build which spawned this website! Since then, I’ve created a handful of other DIY projects like my adjustable climbing wall. This time around, I am building a solo bed platform for a 2015 Nissan Rogue Select.
For those unfamiliar with Nissan’s lineup of vehicles, the Nissan Rogue Select is just a continuation of the first generation Nissan Rogue which was produced from 2008 to 2013. When the second generation Rogue came out in 2014, the original Rogue became the Select and continued to be available in 2014 and 2015.
Unfortunately, for this endeavor, I was so excited to get started that I didn’t document the beginning of the process very well. That being said, I hope you still find some inspiration in my article! Also, feel free to ask me anything in the comments below and I will try to provide an answer!
A Bed Platform for a Nissan Rogue
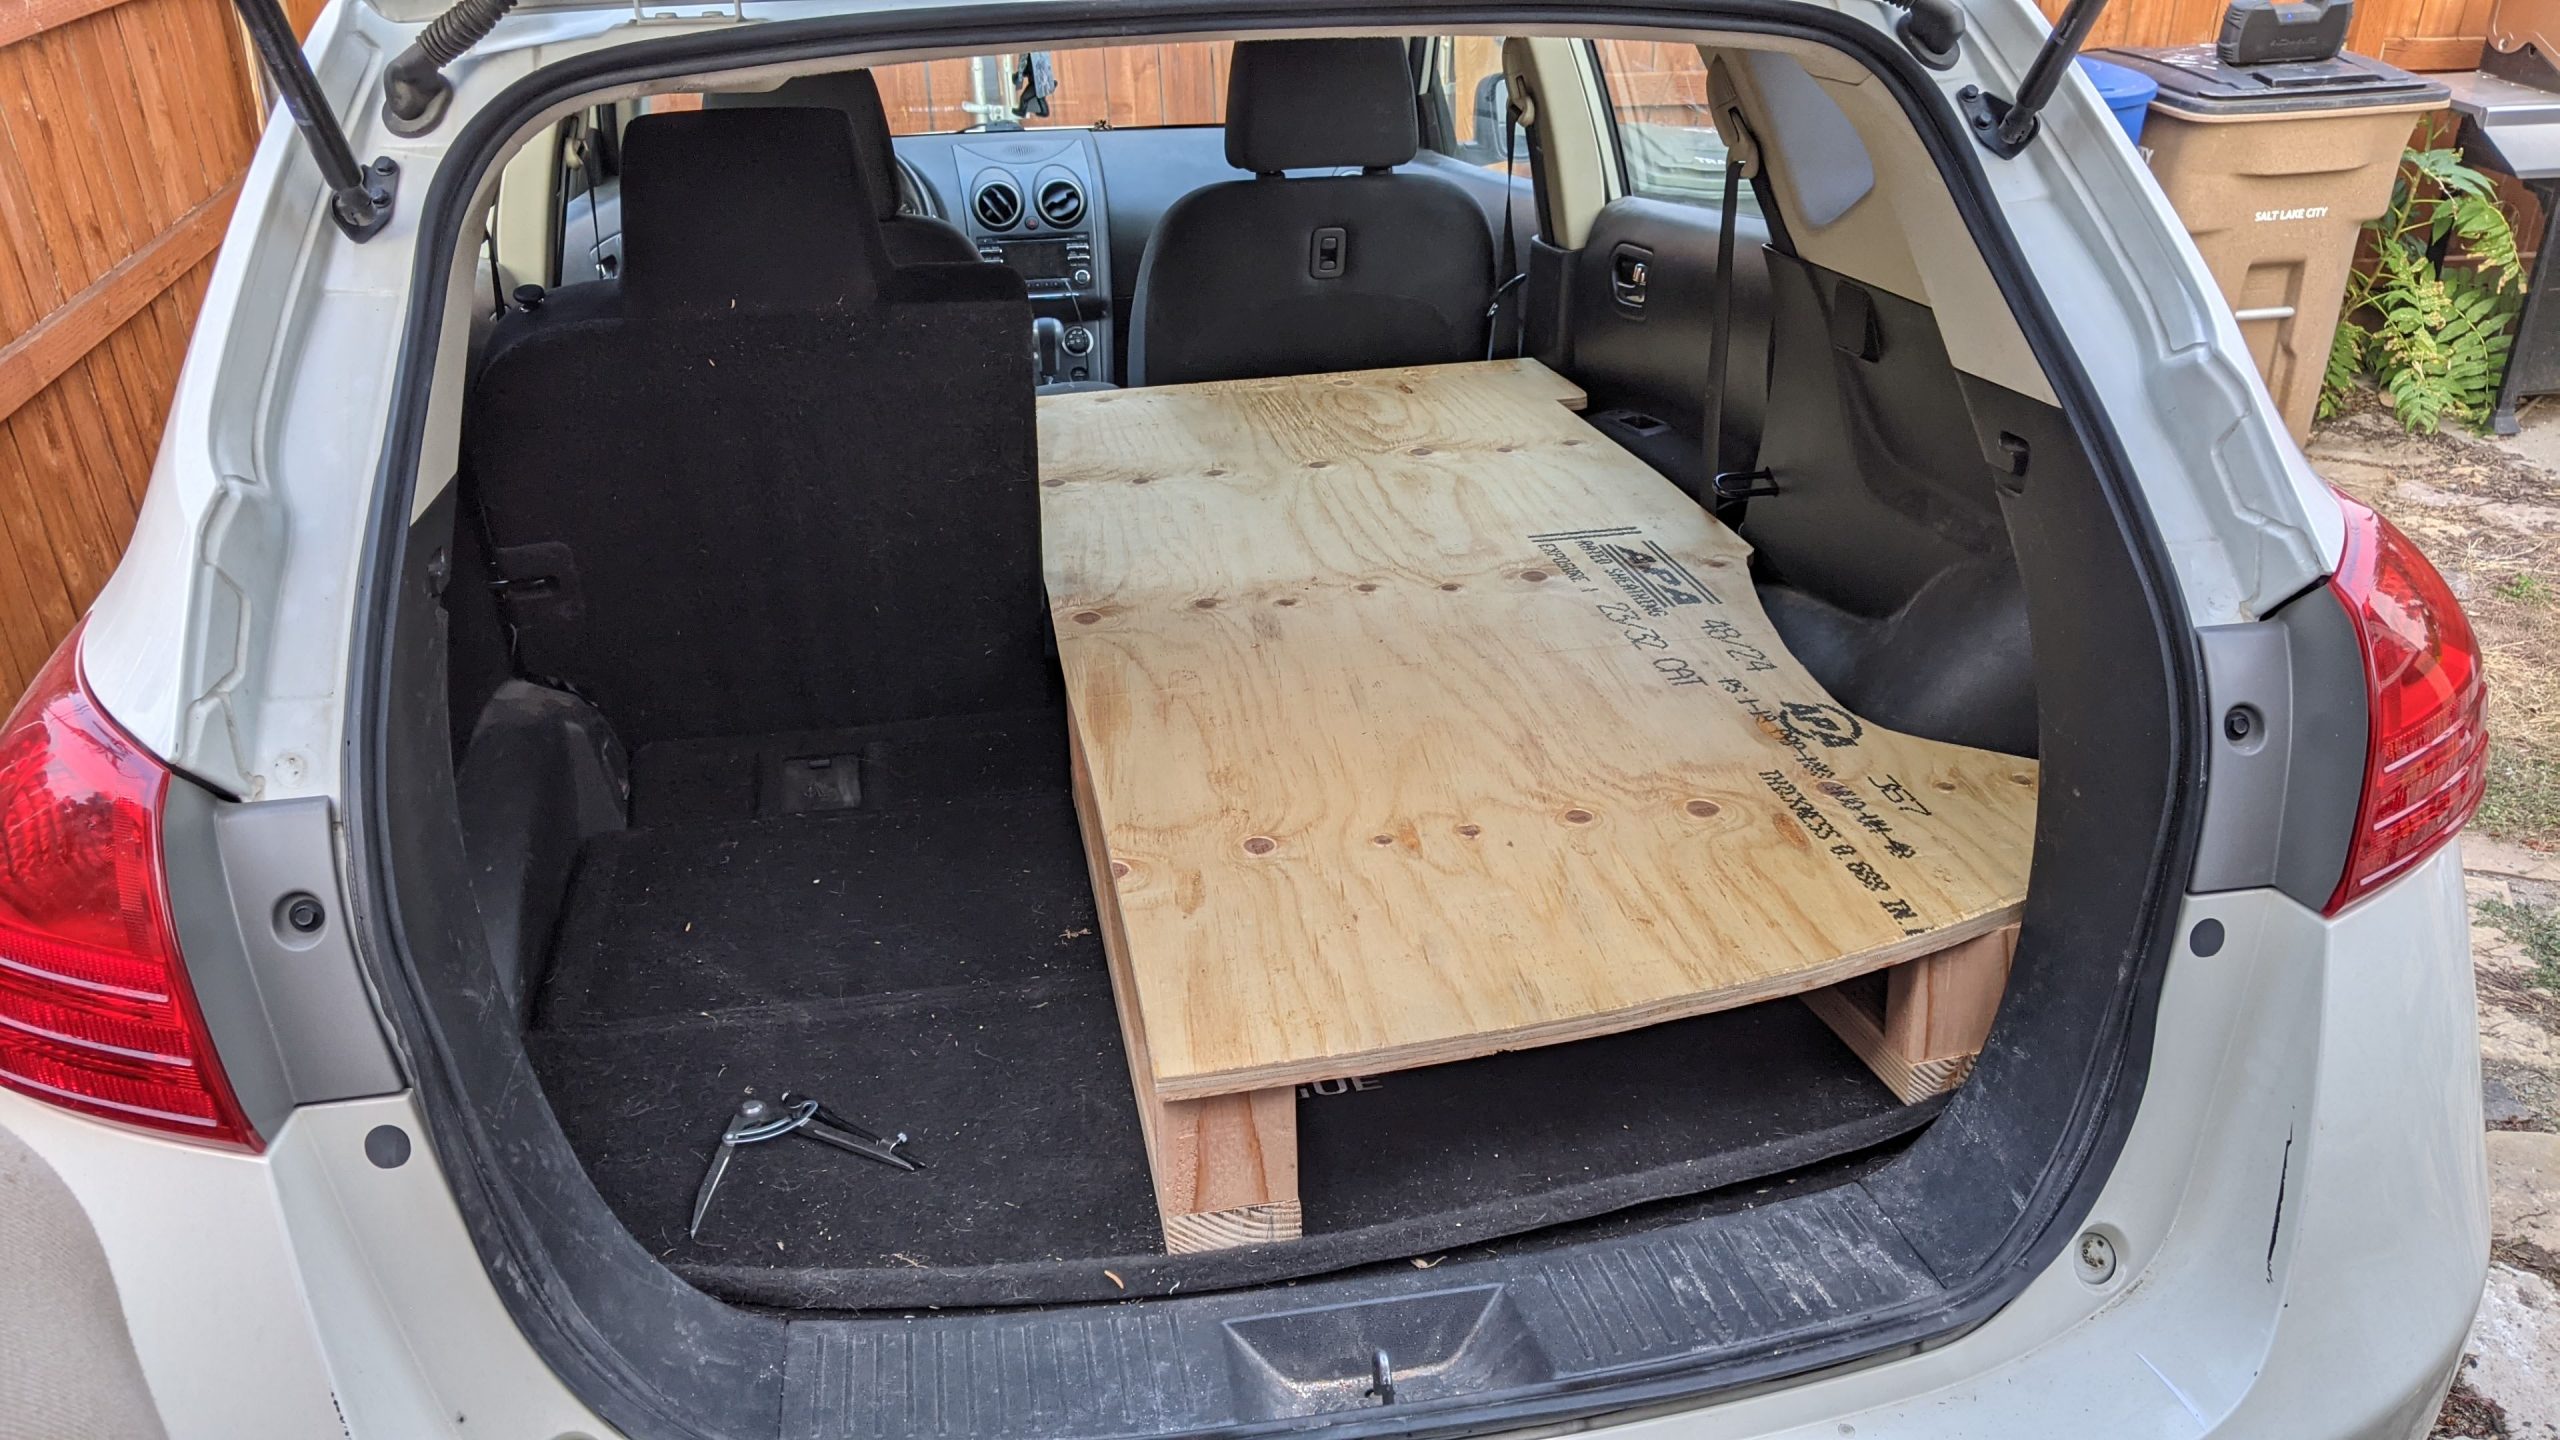
As you can see, I’ve already got the bed platform put together. This time around, I didn’t use SketchUp for the initial design. Instead I kind of built this as I went. The goal of this build was to make a comfortable bed for one person that isn’t too close to the vehicle’s ceiling. It also needed to be cheap!
For this build, we opted for two large “feet” in the trunk and two legs for the front. Each rear “foot” is made from two small pieces of 2×4 screwed to one long piece of 2×4. I constructed one of these for each side and screwed them to the plywood. Don’t forget to drill pilot holes to prevent cracking! Also, this orientation creates a gap at the back allowing for gear to be slid under the bed. The front legs have a similar construction but oriented perpendicularly to the bed with longer 2×4 sections making up the sides. This can be seen in the image below.
Complexities and Techniques
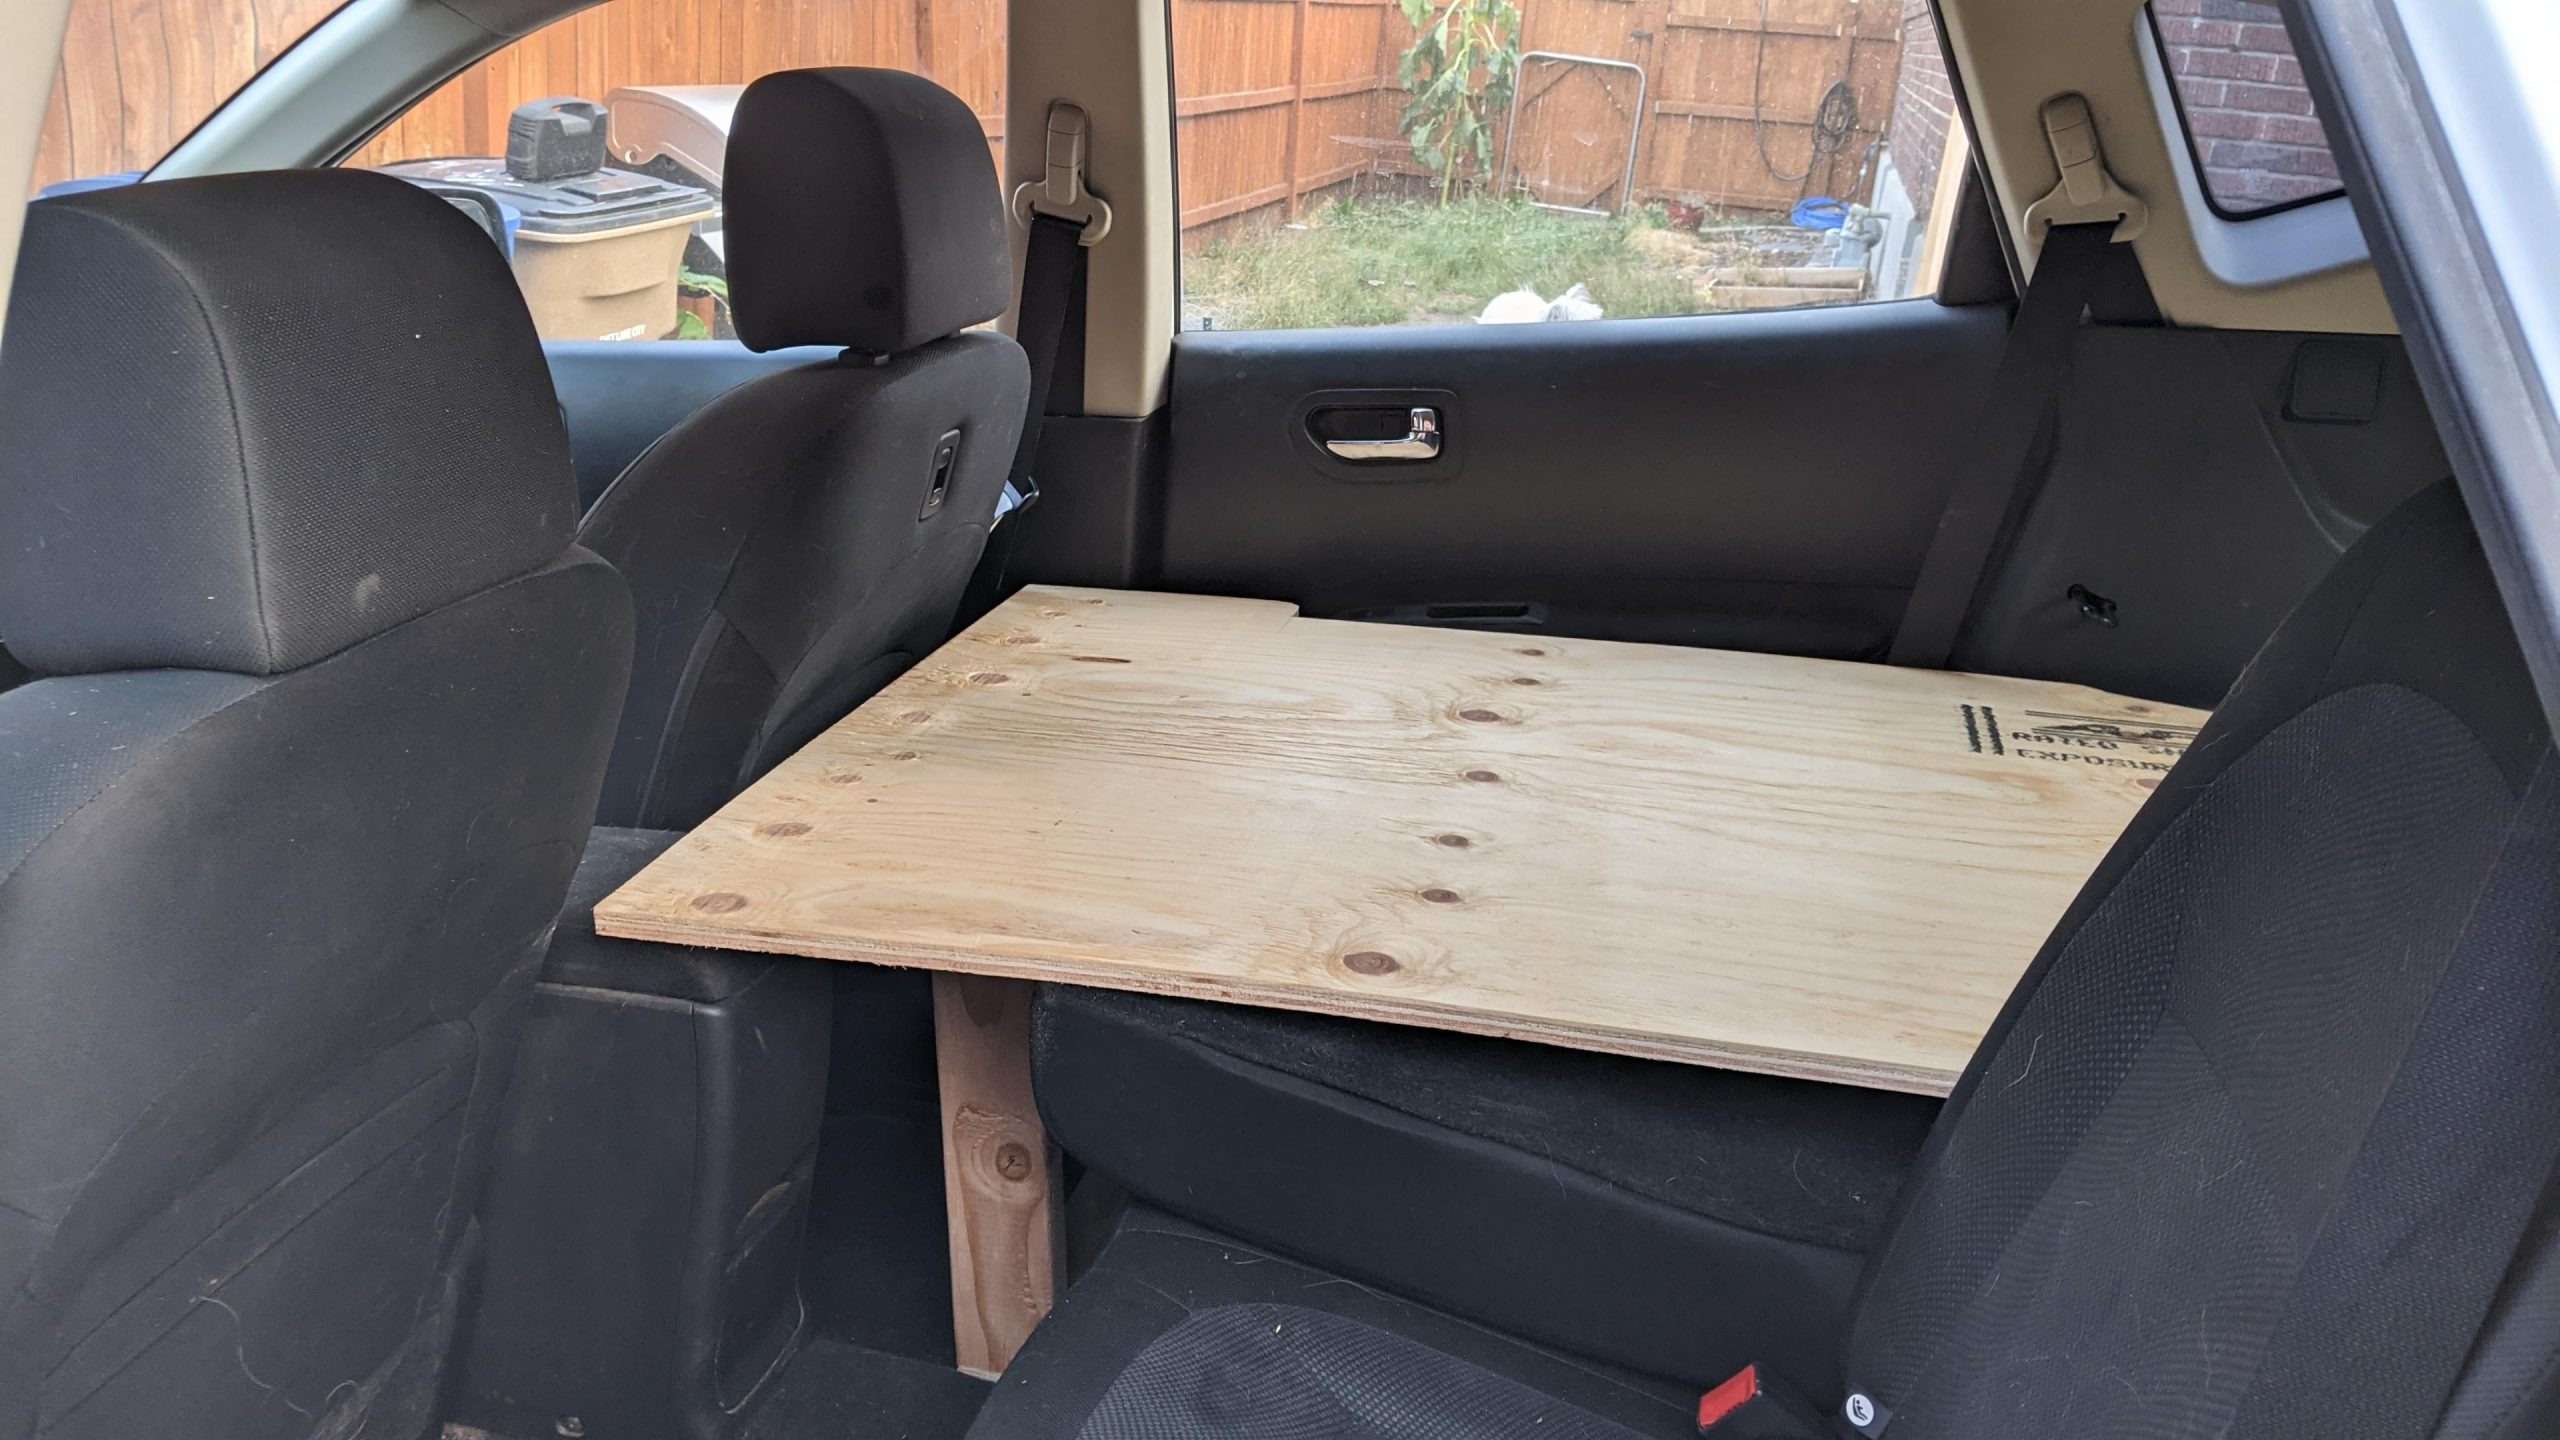
One of the most difficult aspects of the Rogue is that the back seats don’t fold completely flat. In my Tahoe, the back seats become level with the trunk when they are folded down. Since the Rogue doesn’t do this, you have to raise the platform above the highest point of the back seat. Coincidentally, this is above the center console as well.
I also want to mention, many smaller SUV camper conversions utilize some kind of hinge to extend the bed platform into the front seat space. For this build, the user was short enough that we opted to avoid that. The result is the passenger seat can’t go all the way back but this may be alright for your circumstance.
The irregular cut for the wheel well and trunk is the most difficult piece of the build. Or at least, it took the longest. I used a method called scribing to create a stencil of the vehicle’s curves. I traced the stencil onto my plywood and carefully cut it out with a jig saw. This was my first time attempting the technique but I think it turned out really well! If I can do it, you can too.
Time For A Mattress
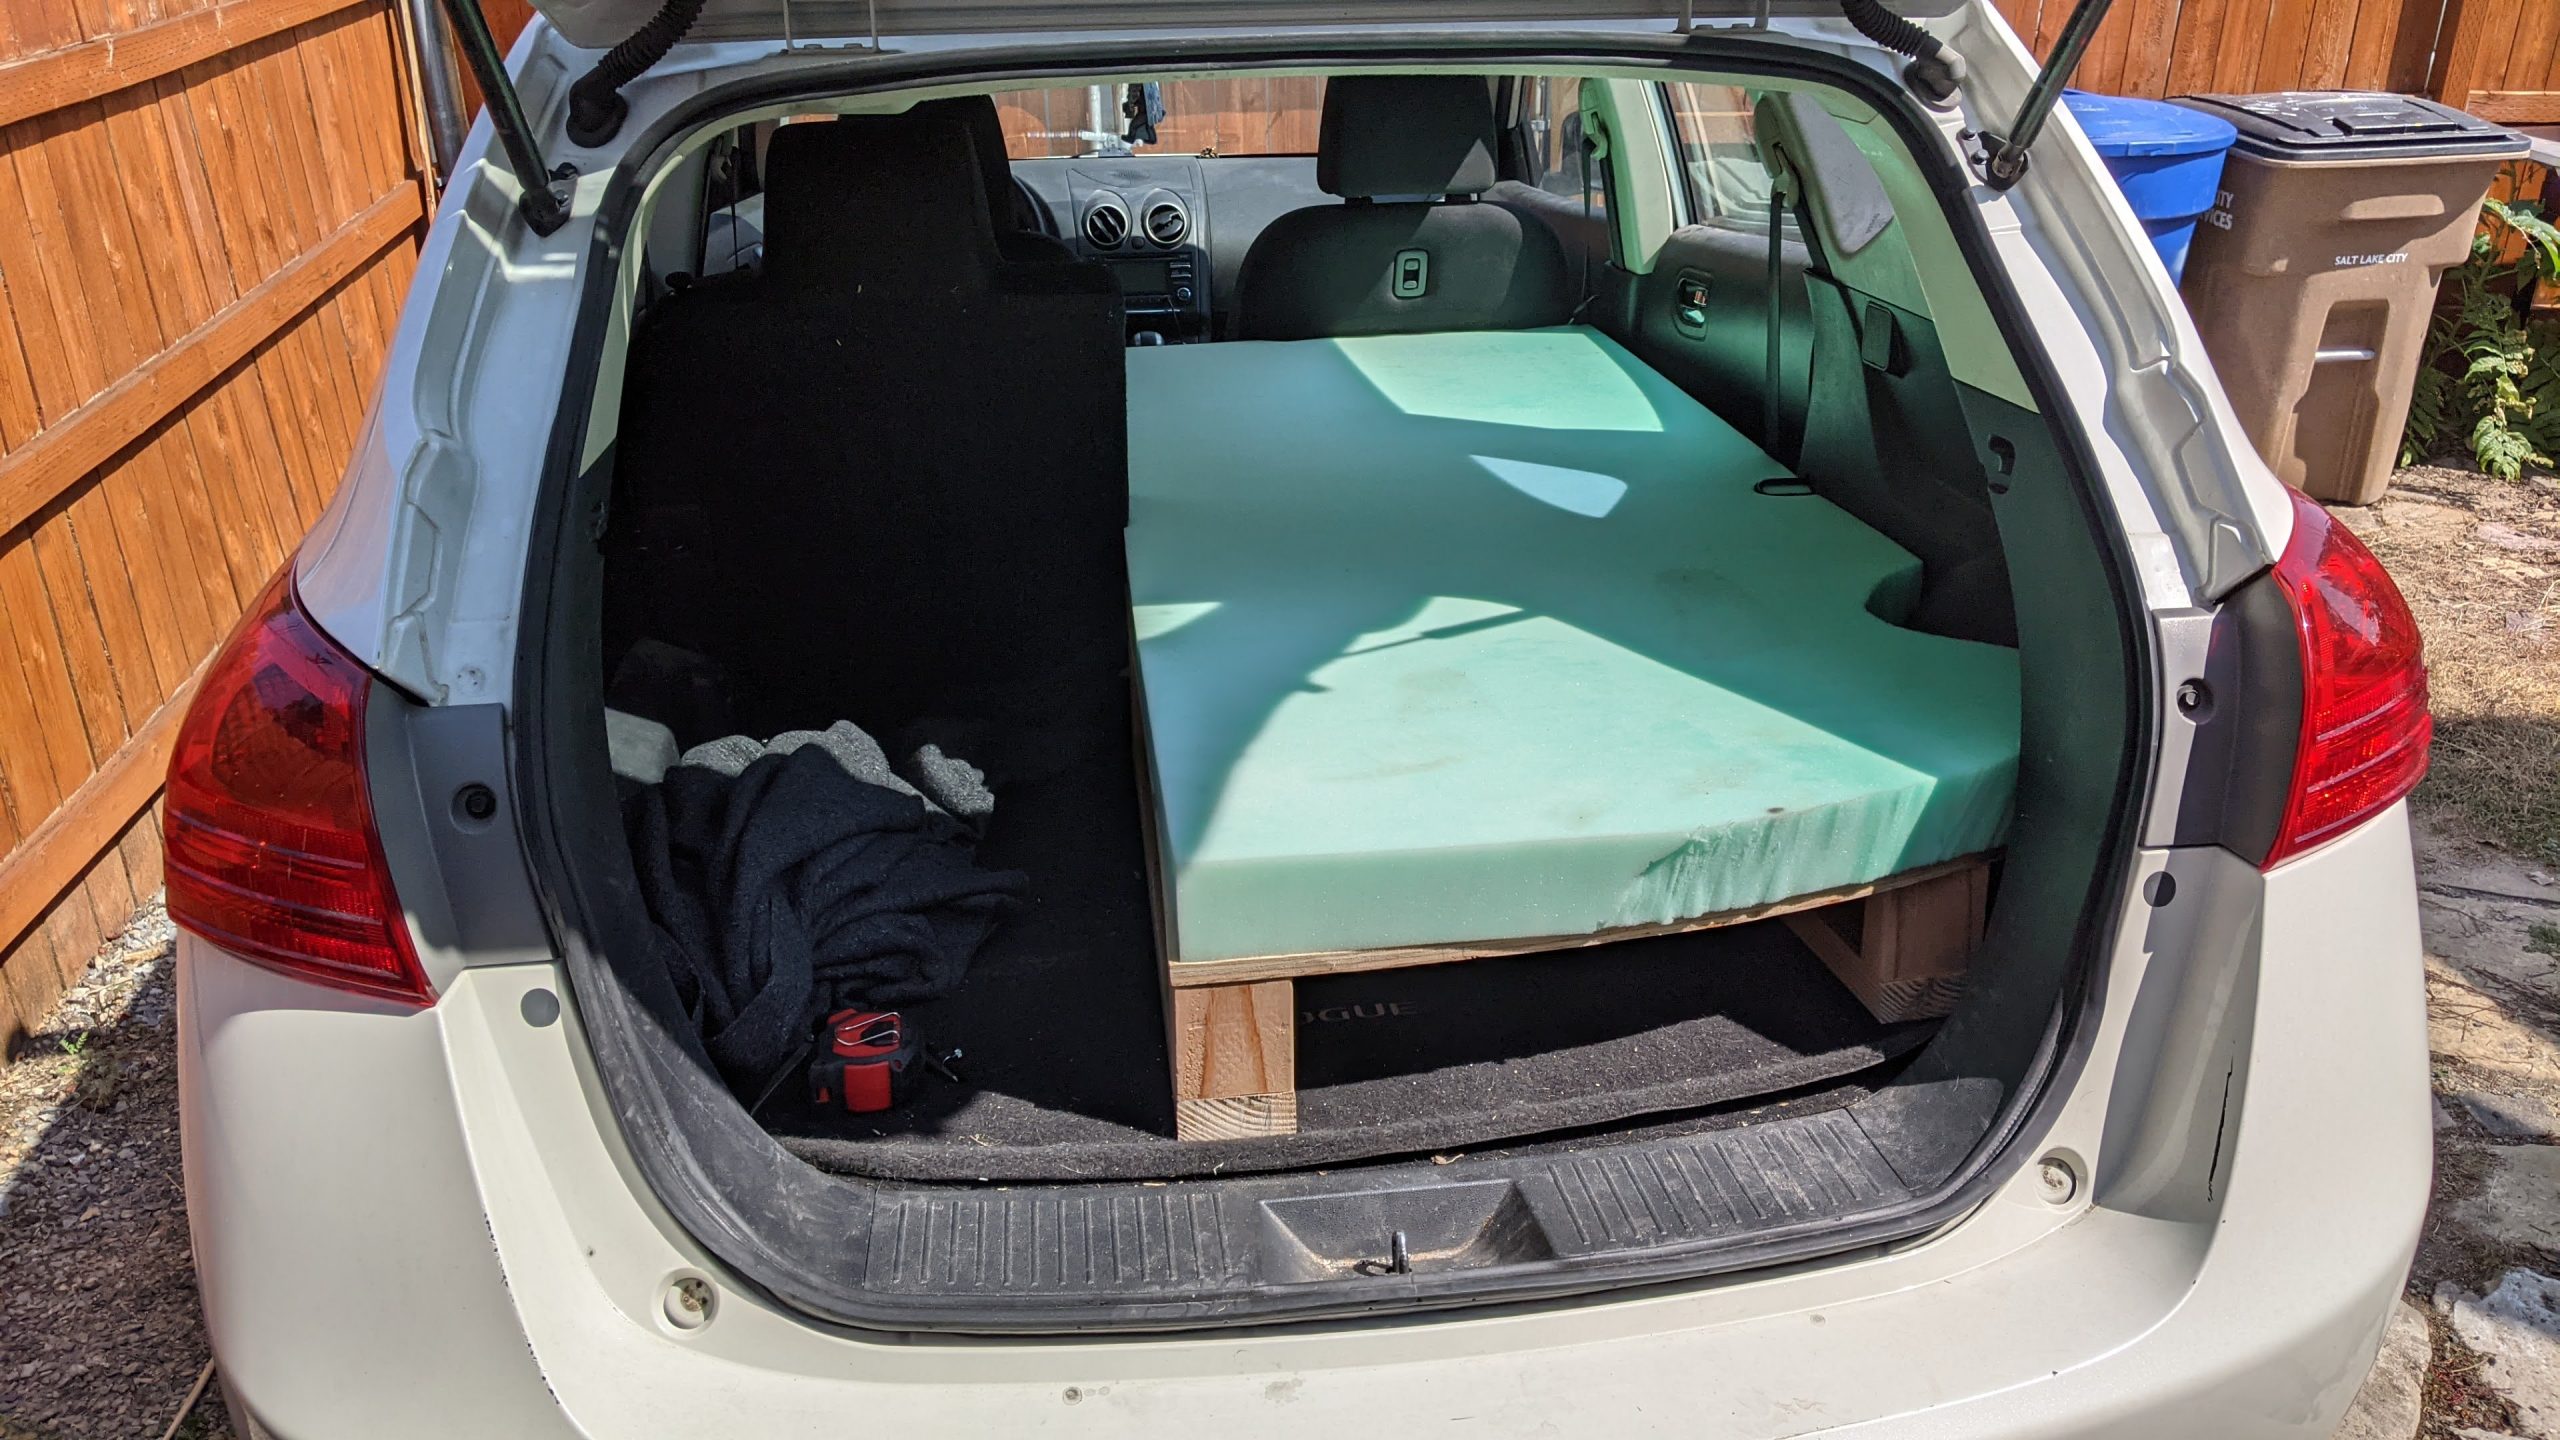
With the platform all screwed together, we turned our attention to comfort. In this photo, you can see the 3 inch thick piece of foam we decided to use. If you already have a foam pad or inflatable pad you use for camping, any of those can work here too. If you opt for a purpose built mattress, you can find foam like this at a variety of stores like Joann’s, Lowes, and more. Be sure to get something thick enough to be comfortable for you. In this case, 3 inches is enough for comfort but doesn’t put your nose against the ceiling.
We cut the foam to sit flush against the vehicle, like the plywood. Finally, with the driver-side rear seat folded up, everything fits snuggly with no ability to slide around.
Finishing Touches

We added a curtain with two command hooks and some string we had lying around and this Nissan Rogue camping conversion is ready to go! As I mentioned at the beginning, there wasn’t a ton of planning that went into this build. By pure coincidence, the width of the foam mattress is just right for a twin-sized fitted sheet.
I also added an old wool blanket I had on hand between the plywood and the mattress to add a little warmth and prevent splinters. You could easily staple some cheap outdoor carpet to the plywood for a similar effect.
The last step (which again I didn’t document) is adding some Reflectix to the windows for added privacy. A fellow blogger by the name of Lucas has a great write up on some ways to do this.
Materials and Tools Used
- One 4’x8′ sheet of 23/32″ thick plywood (could use 3/4″ thick instead)
- Two 8′ long 2″x4″ studs
- A box of #8 2 inch decking screws (leftover from my climbing wall project)
- A box of #10 3 inch decking screws (again, leftover from my climbing wall project)
- One piece of 72″x30″ high density foam, 3″ thick (for the mattress)
- A Jig Saw (to fit the plywood to the wheel arch and trunk shape)
- A Miter Saw (for the 2x4s)
- A Table Saw or Circular Saw with guide (for the plywood)
We were able to source all of these materials locally for under $100. Your results may vary but this shouldn’t be outrageous!
Final Thoughts
There you have it! A budget-friendly camping conversion for a Nissan Rogue that we built in a weekend. You could probably get it done in a day if you don’t fool around with the jig saw as much. Then you can set out on an adventure!
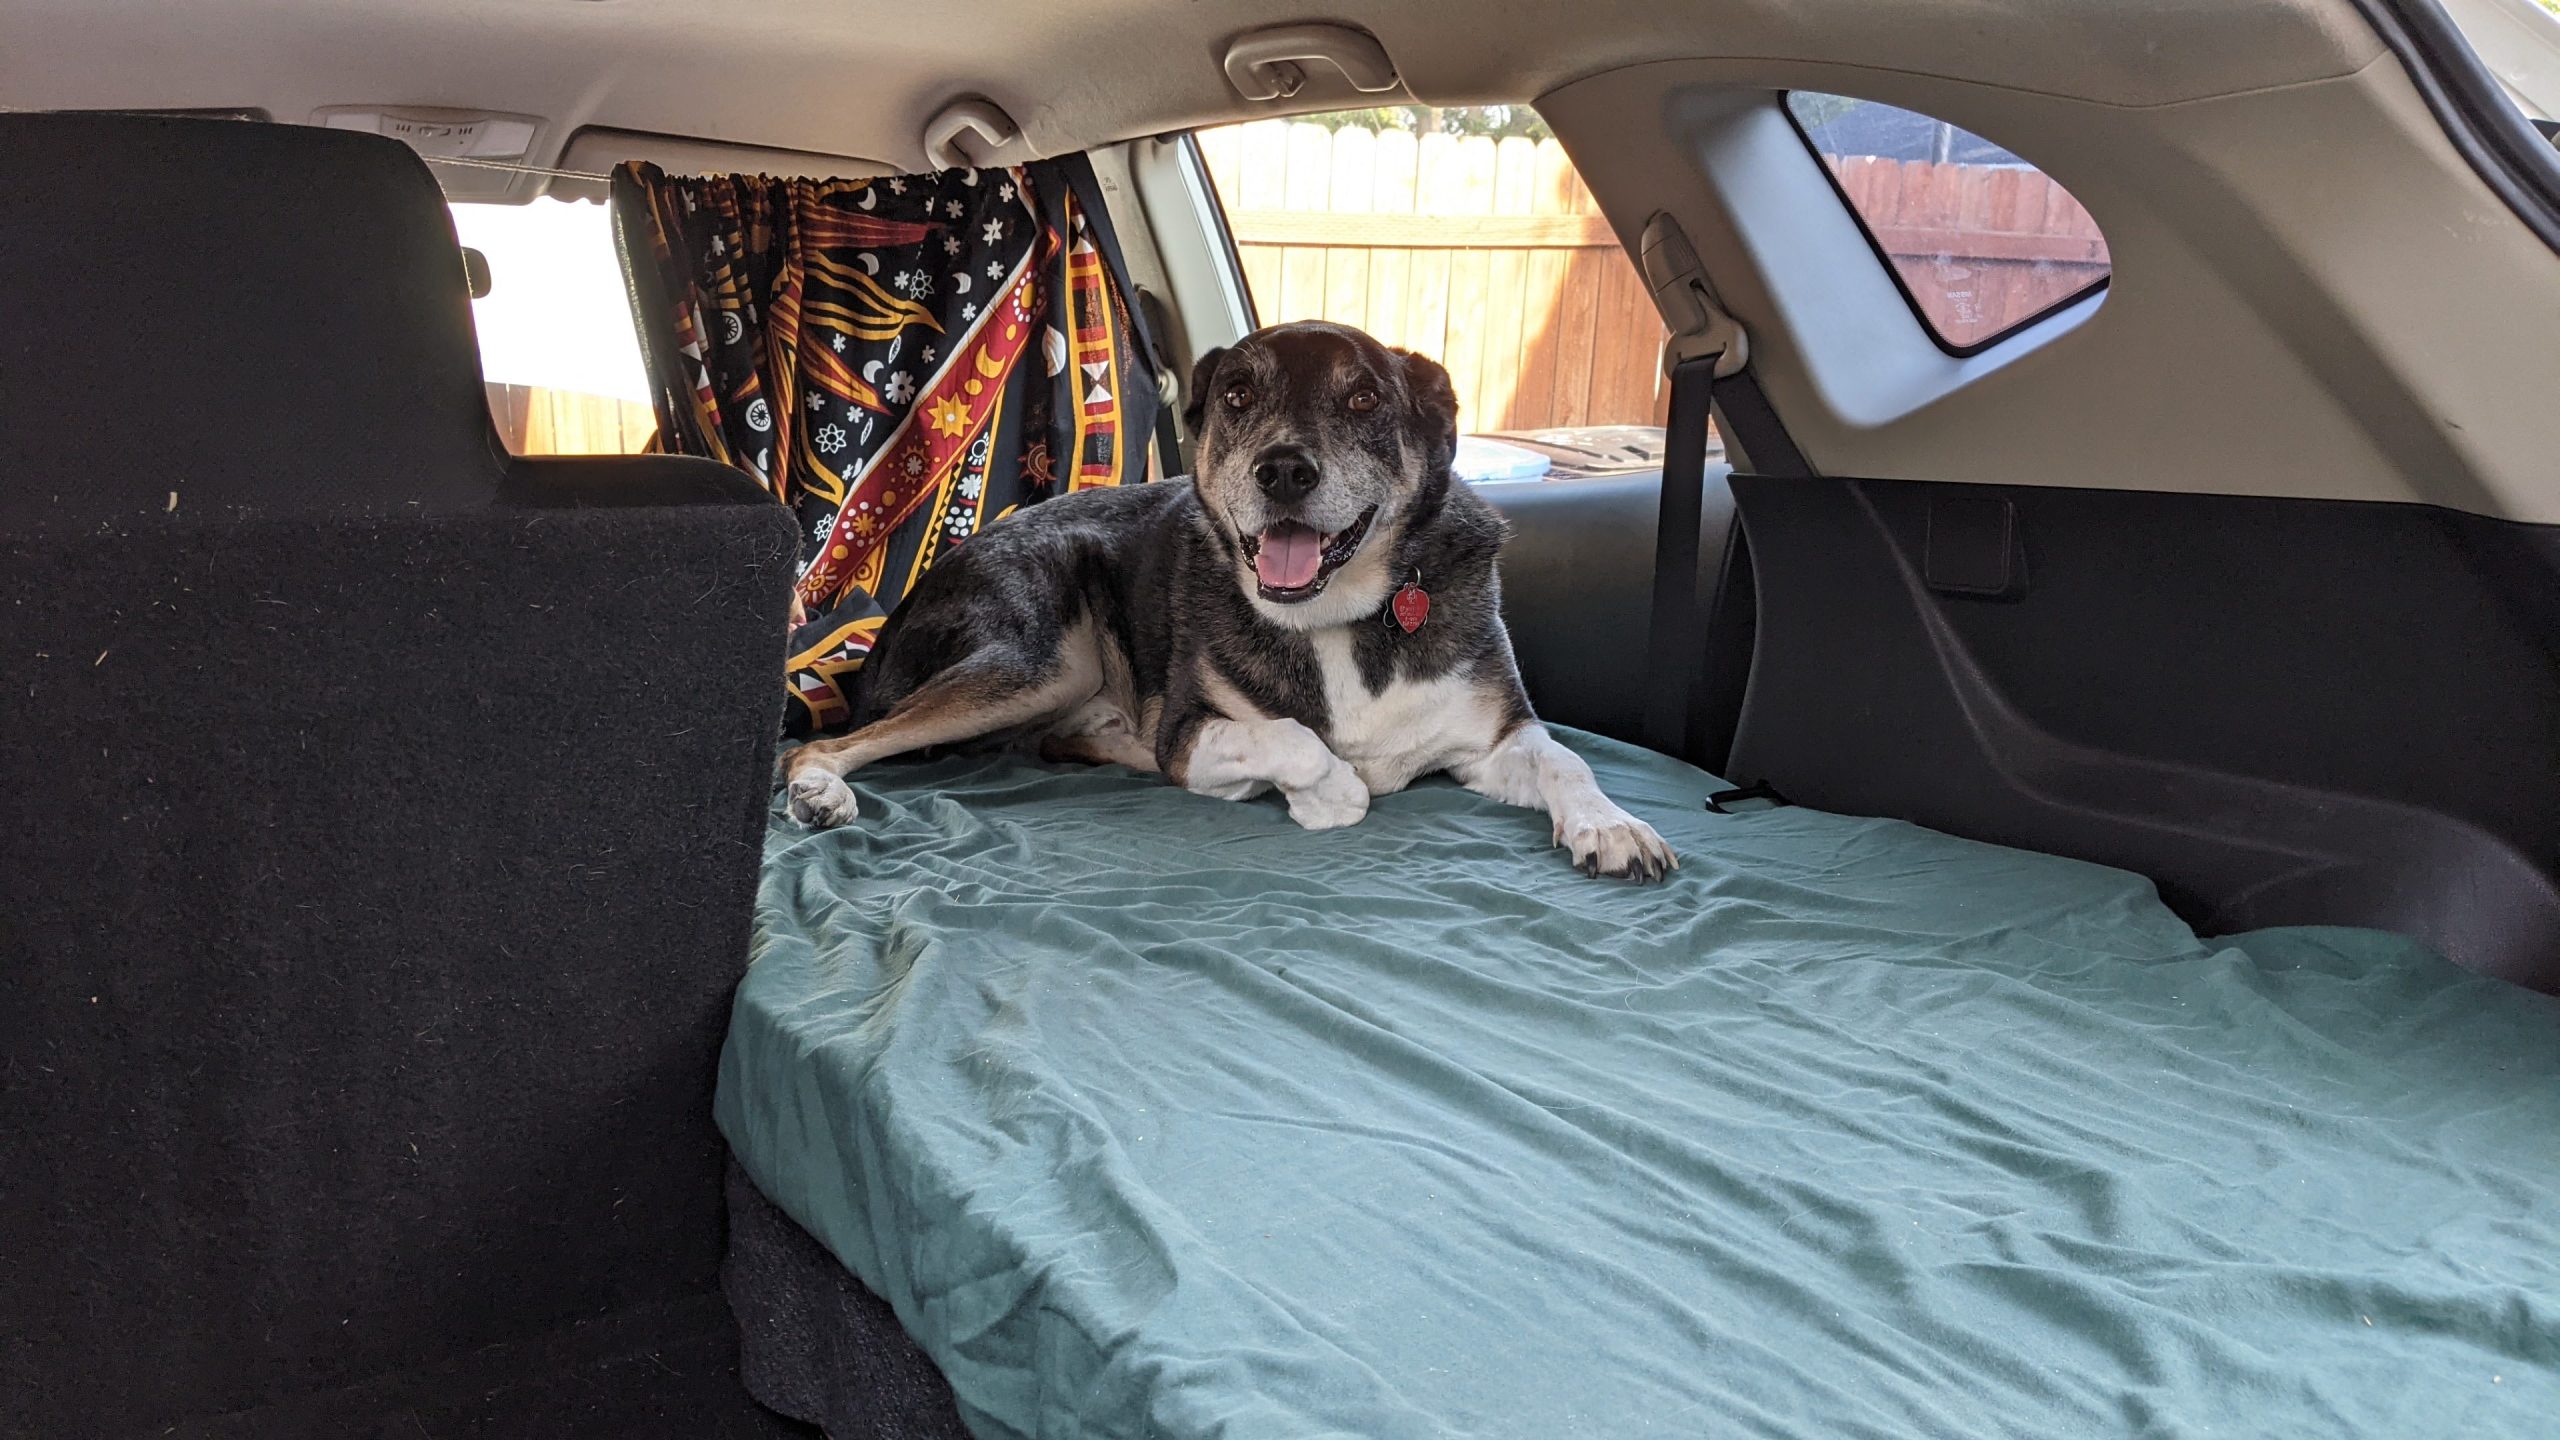
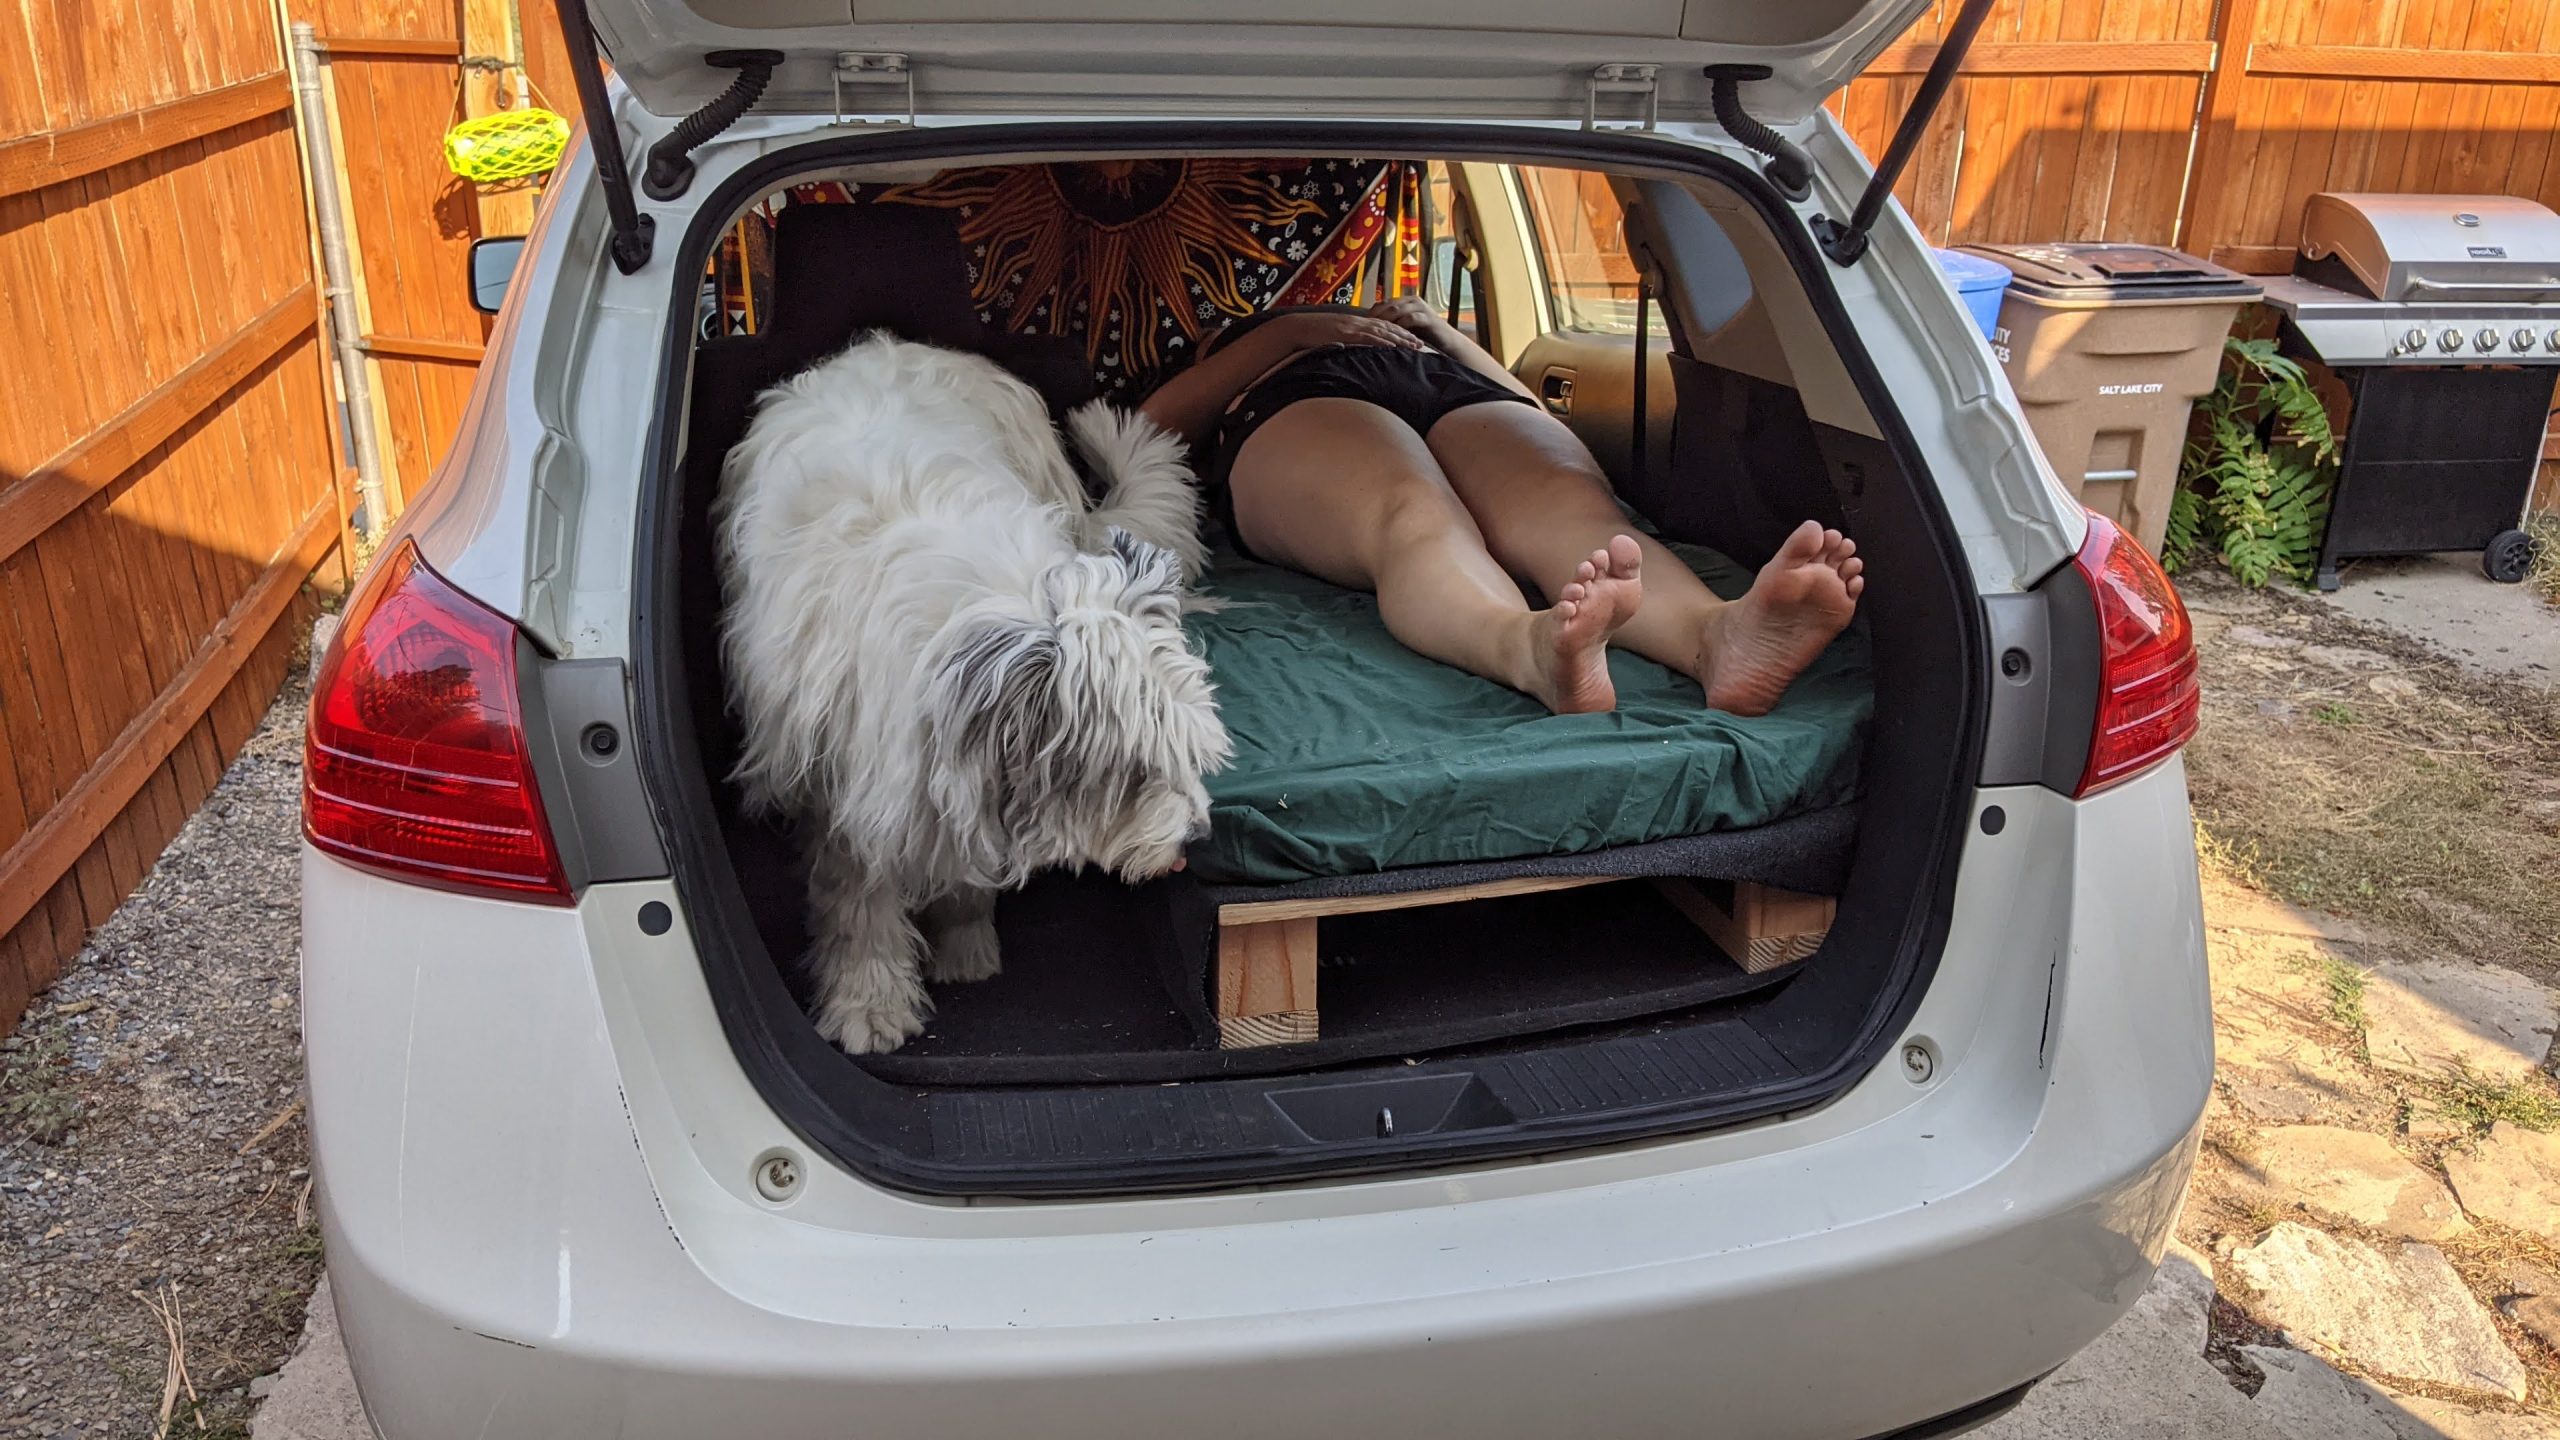
Here you can see Amanda and Faye testing the bed out. there is plenty of space for one person and any gear or food they might need. Time will tell if this is enough space for someone to live in for extended periods of time but for the occasional camping trip, adventure, or road trip, it’s perfect. The bed platform is sturdy and the Nissan Rogue is sure to be more fuel efficient than most RVs or vans.
What do you think? Would you live in this occasionally?

I planned on doing the same thing but run across the problem the the larger fold down seat is behind the driver side…. My solution was to put part of the bed on hinges to fold up. Any advice on it?
Hey, thanks for reading! Could you mirror the design so the bed is aligned to the driver side of the car instead of the passenger side? I love the idea of something that can fold or transform but I’ve had trouble with hinges in the past depending on how you’re going to put weight on them or stress them. But you can always test it! Let me know what you end up doing!
hello! I live on Salt Lake City and am wanting to make this conversion in my car. I have a few questions about it. I’d love to speak with you more if you have availability.
I’m also wondering if you’d possibly be willing to help me make it? just a long shot here haha.
Hi Sabina! I’m sorry but I actually moved away from Utah in September. And unfortunately we had to put this bed out on the curb when we left because we couldn’t bring it with us. I wish I could’ve given it to someone who would use it like yourself!
That being said, I’m happy to help however I can. What questions did you have?