My partner and I do a lot of camping and we tend to go to some pretty remote areas. I’ve always liked the idea of something like a Class-C camper or a conversion van but most camper vans just don’t have the clearance or the off-road capabilities that I felt we would need when we are way off the beaten path. Then one night, I was scrolling through the KSL Cars app (if you know Utah, then you know KSL) and I had the idea to build a dedicated camping vehicle with 4×4.
Having decided that I would forego the usual camping vehicles, I began researching the overland scene and the various truck camping options available. I liked the idea of overland builds being that they were ready to take on anything the wilderness could dish out, but I also liked the comfort of the Sprinter and Promax vans I see so often parked at crags and campsites. A full-size SUV could be the answer I was looking for and so I began to research every SUV I could get my hands on for less than $10,000.
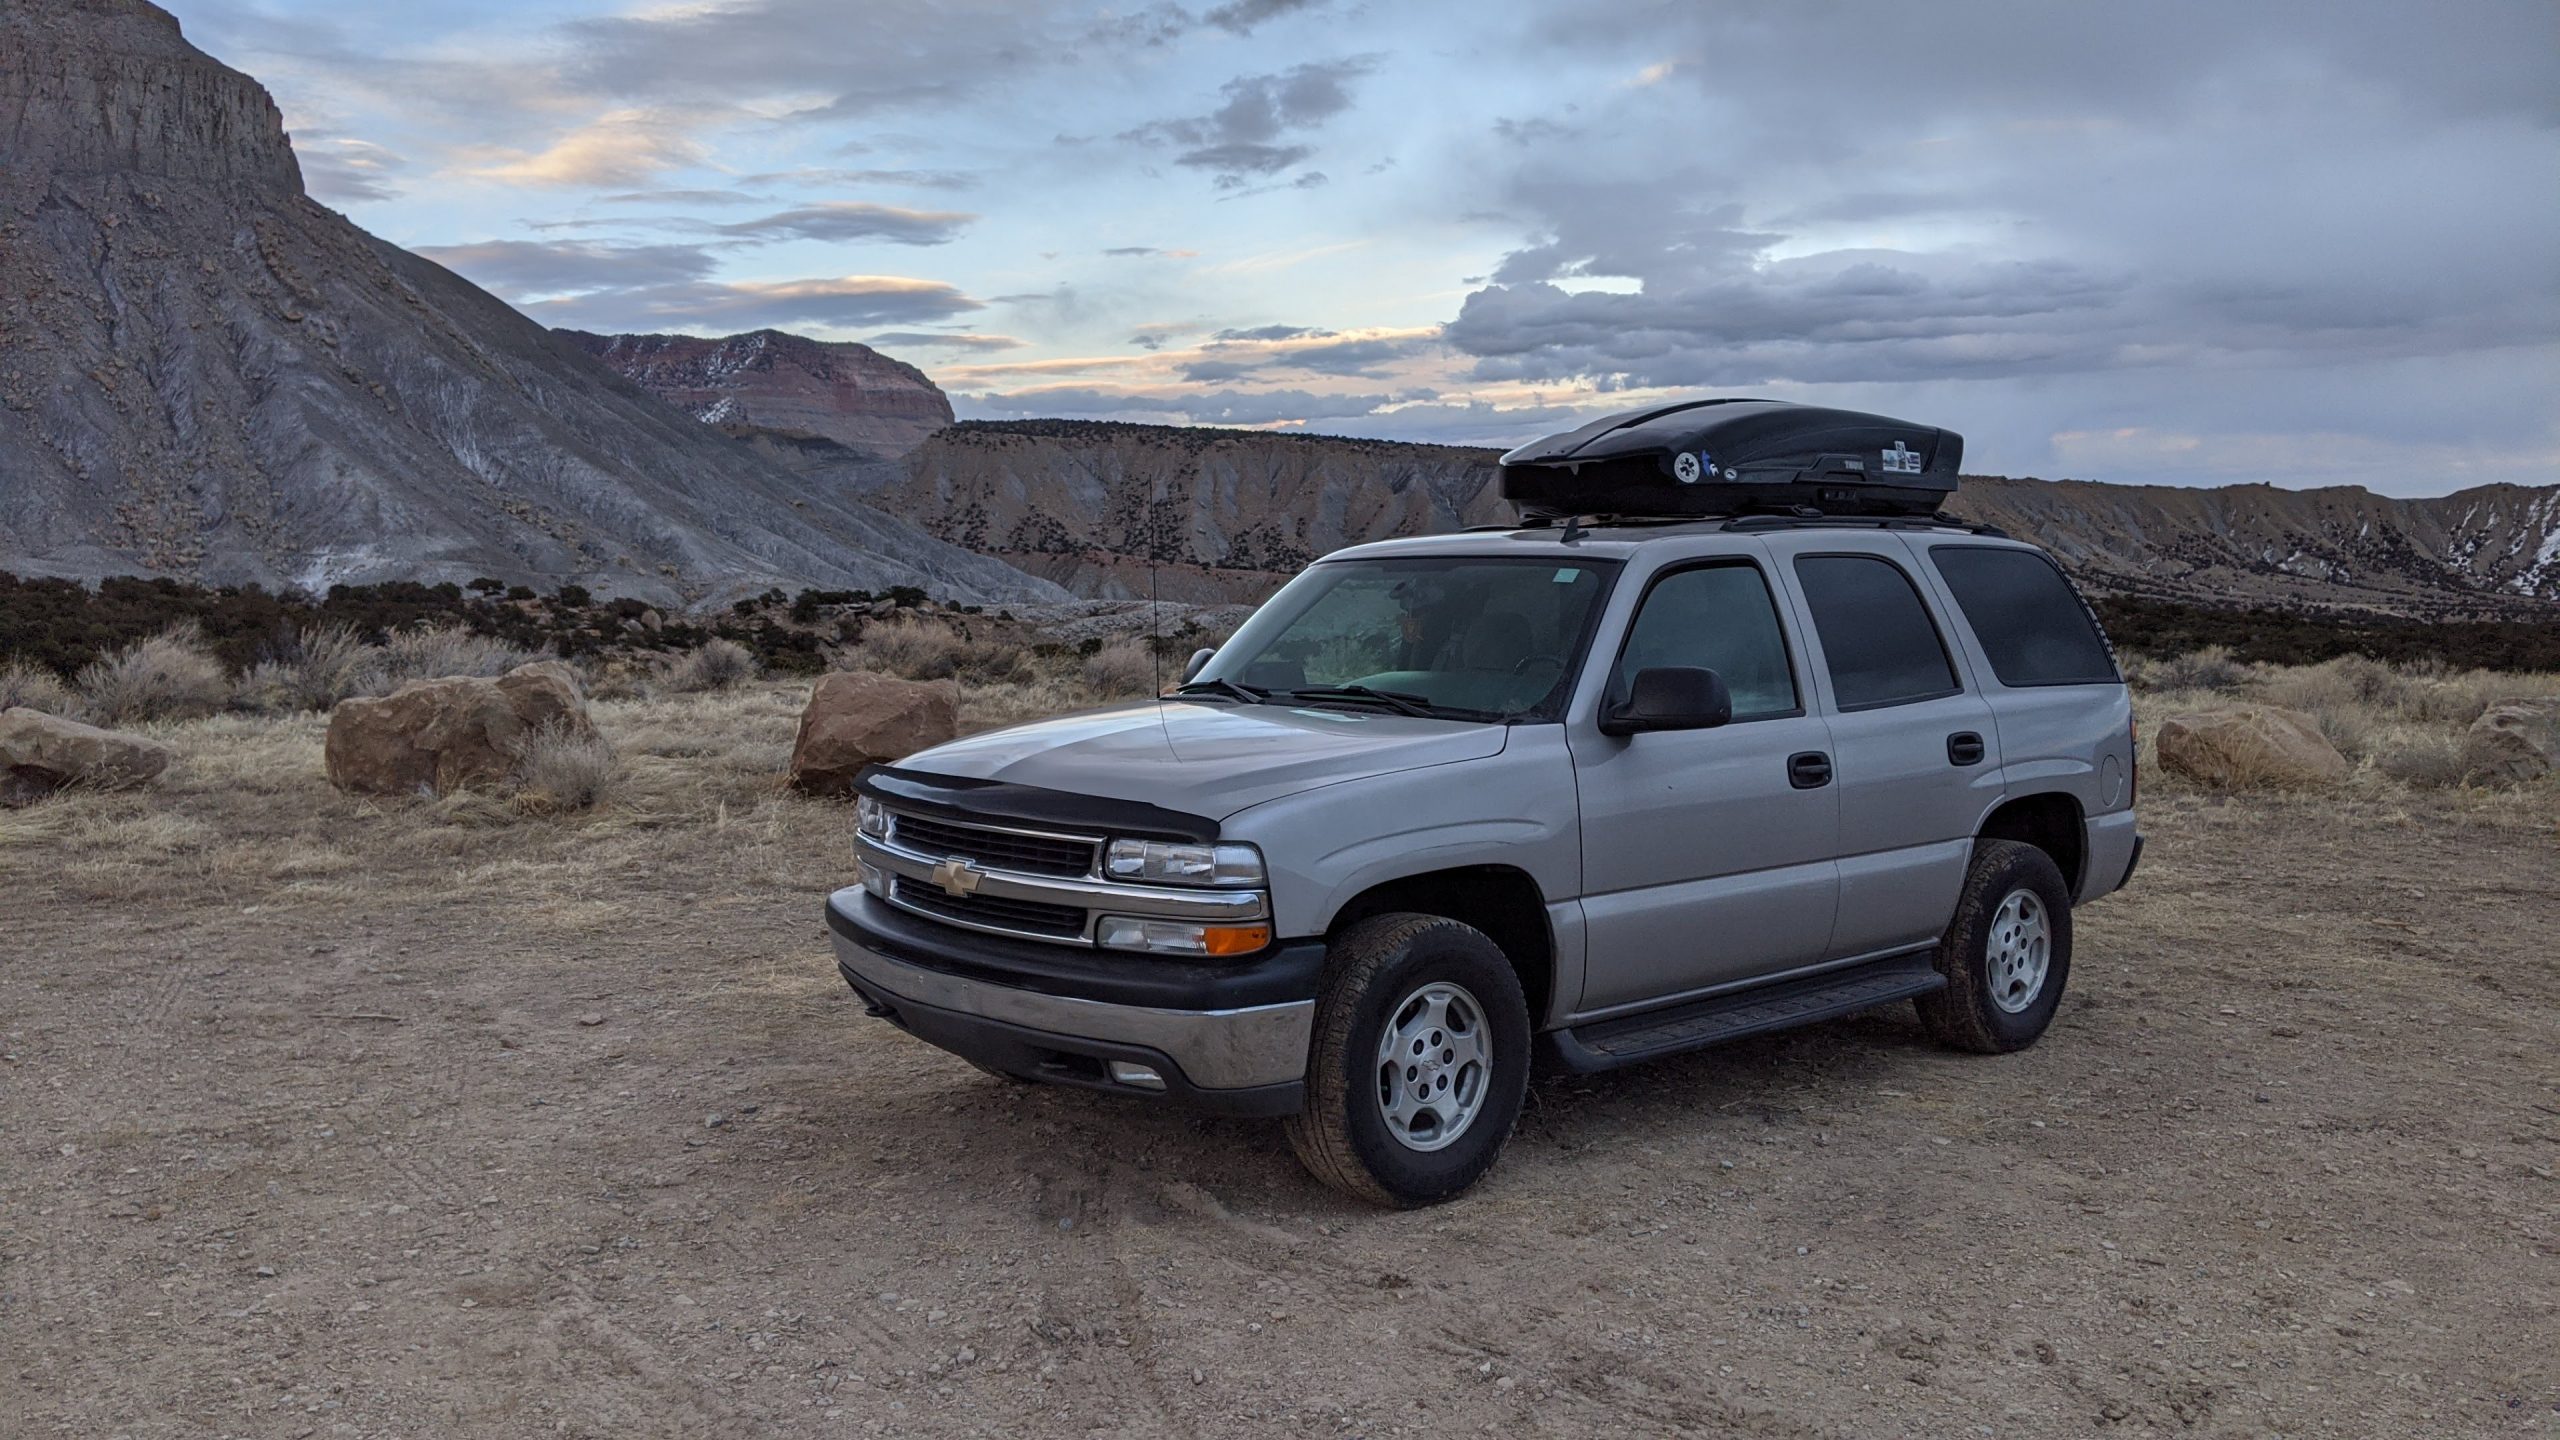
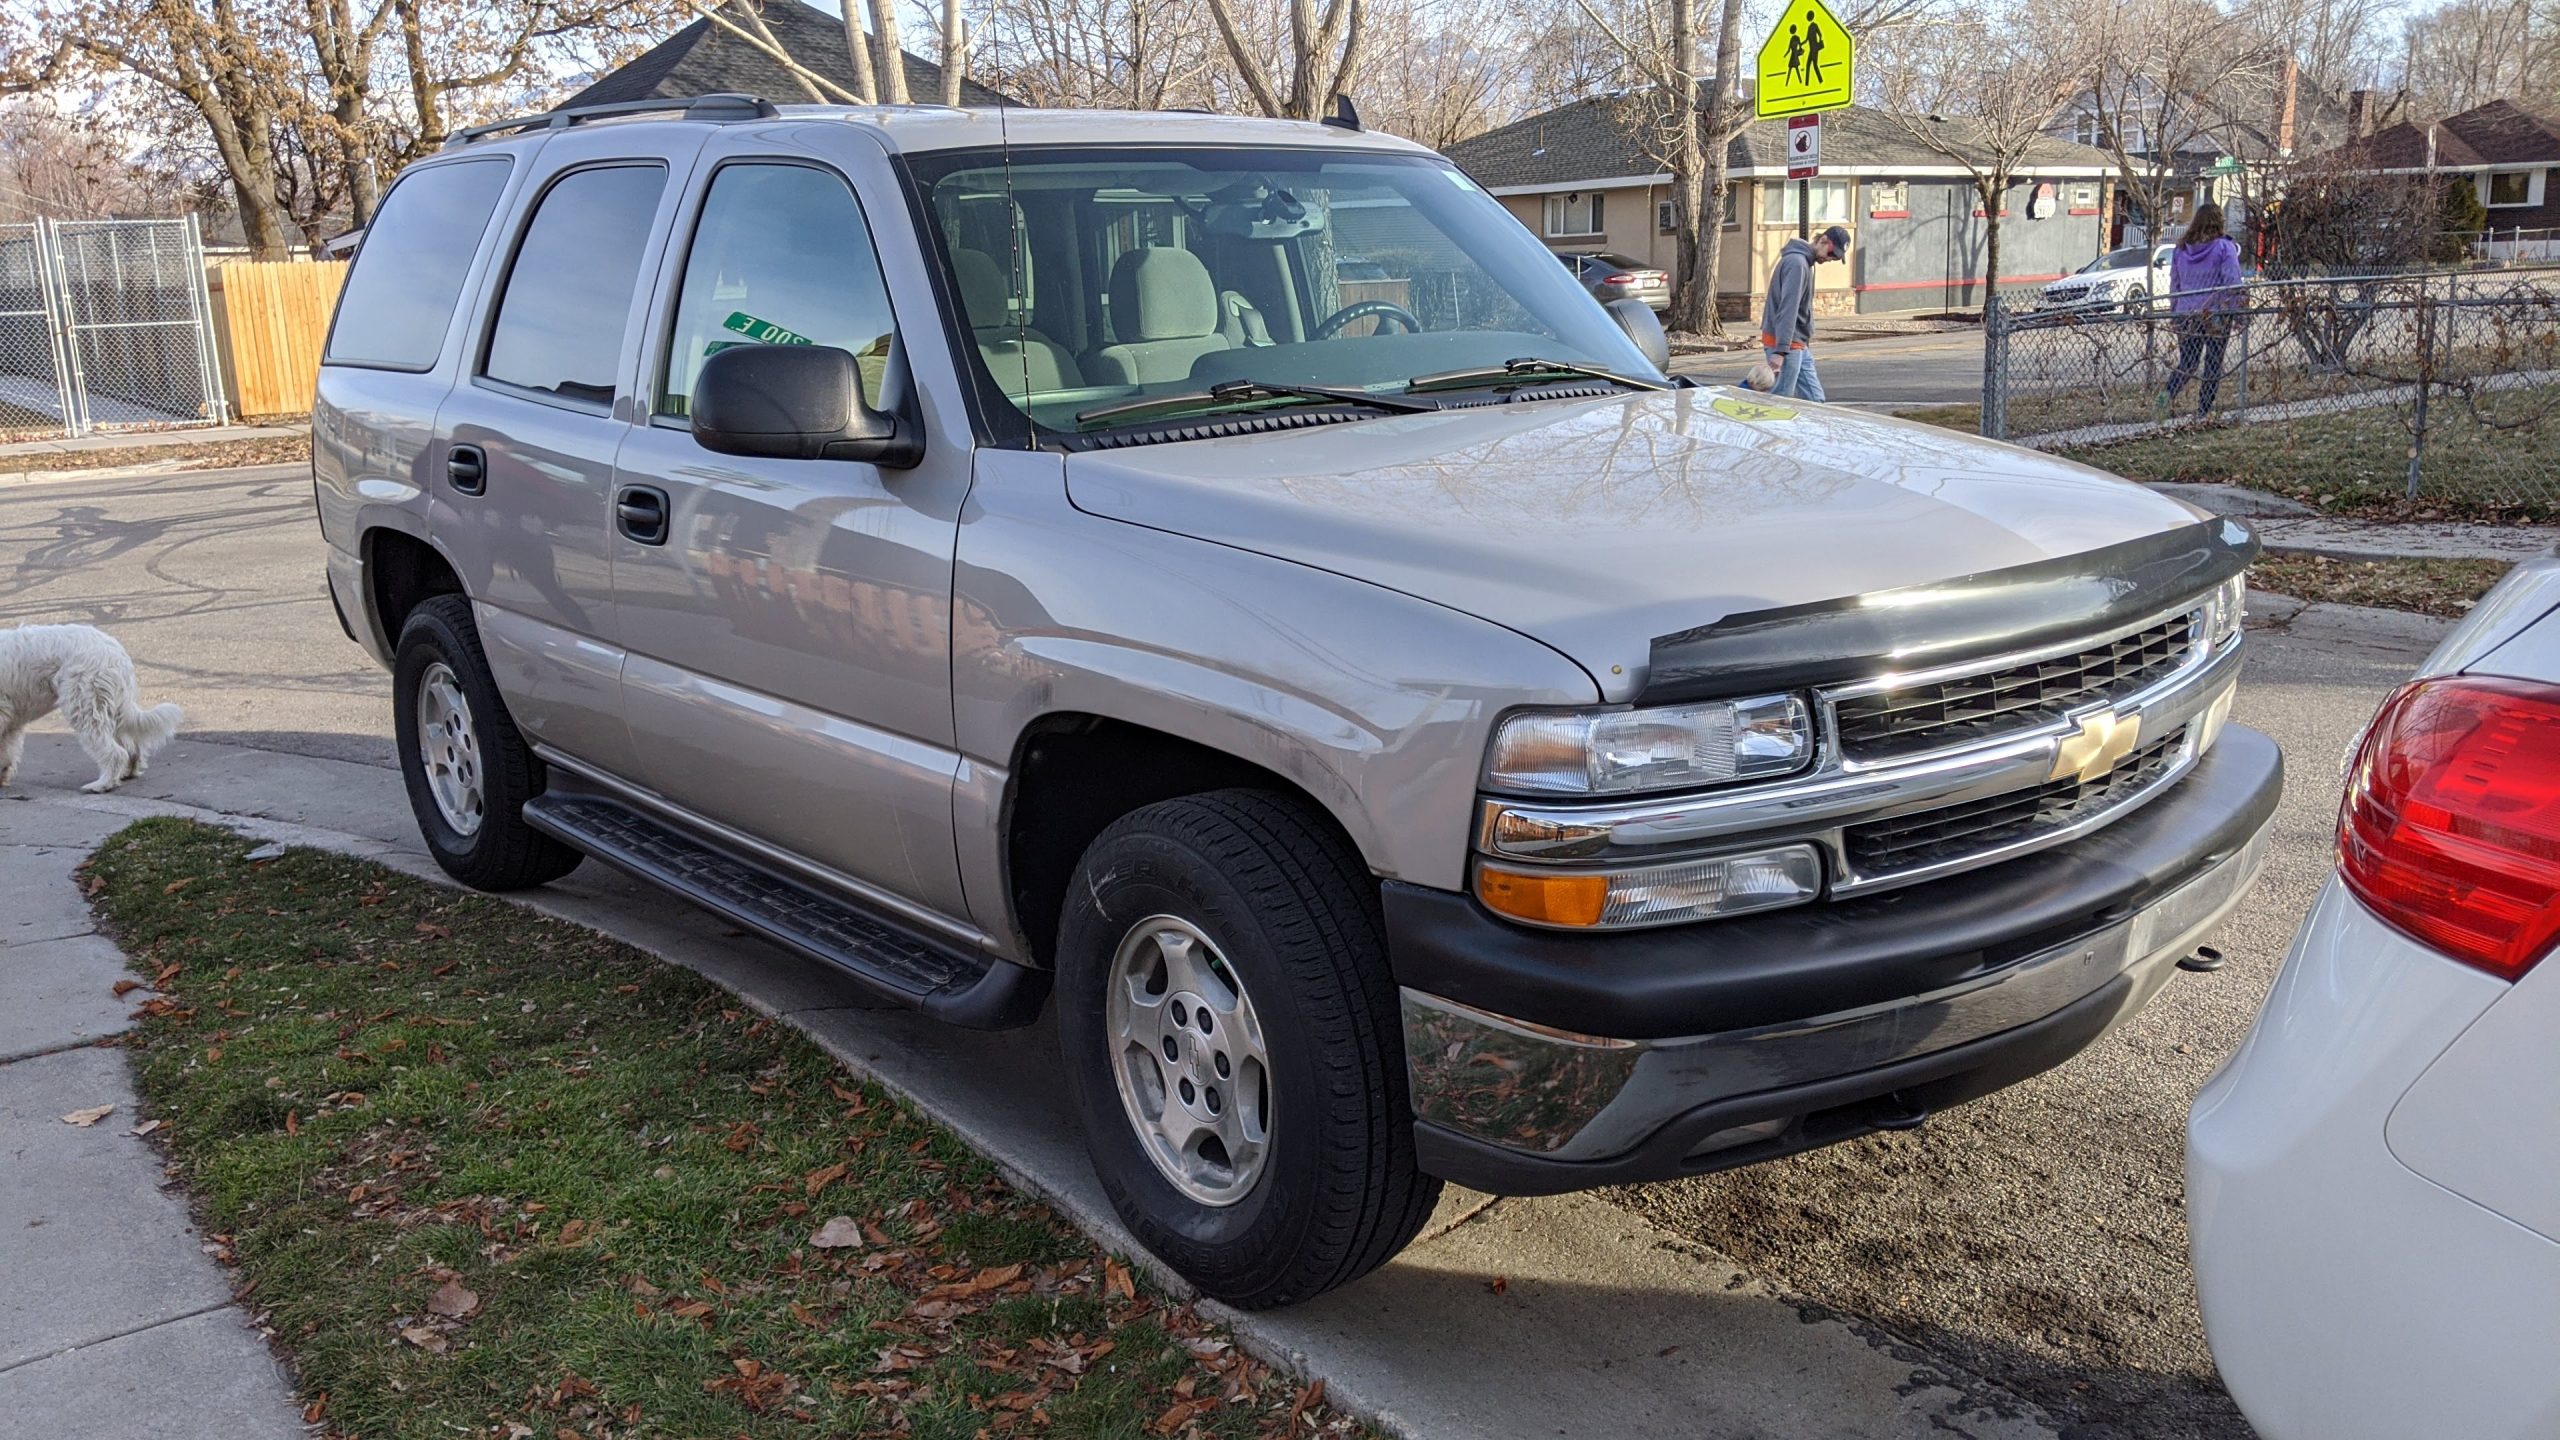
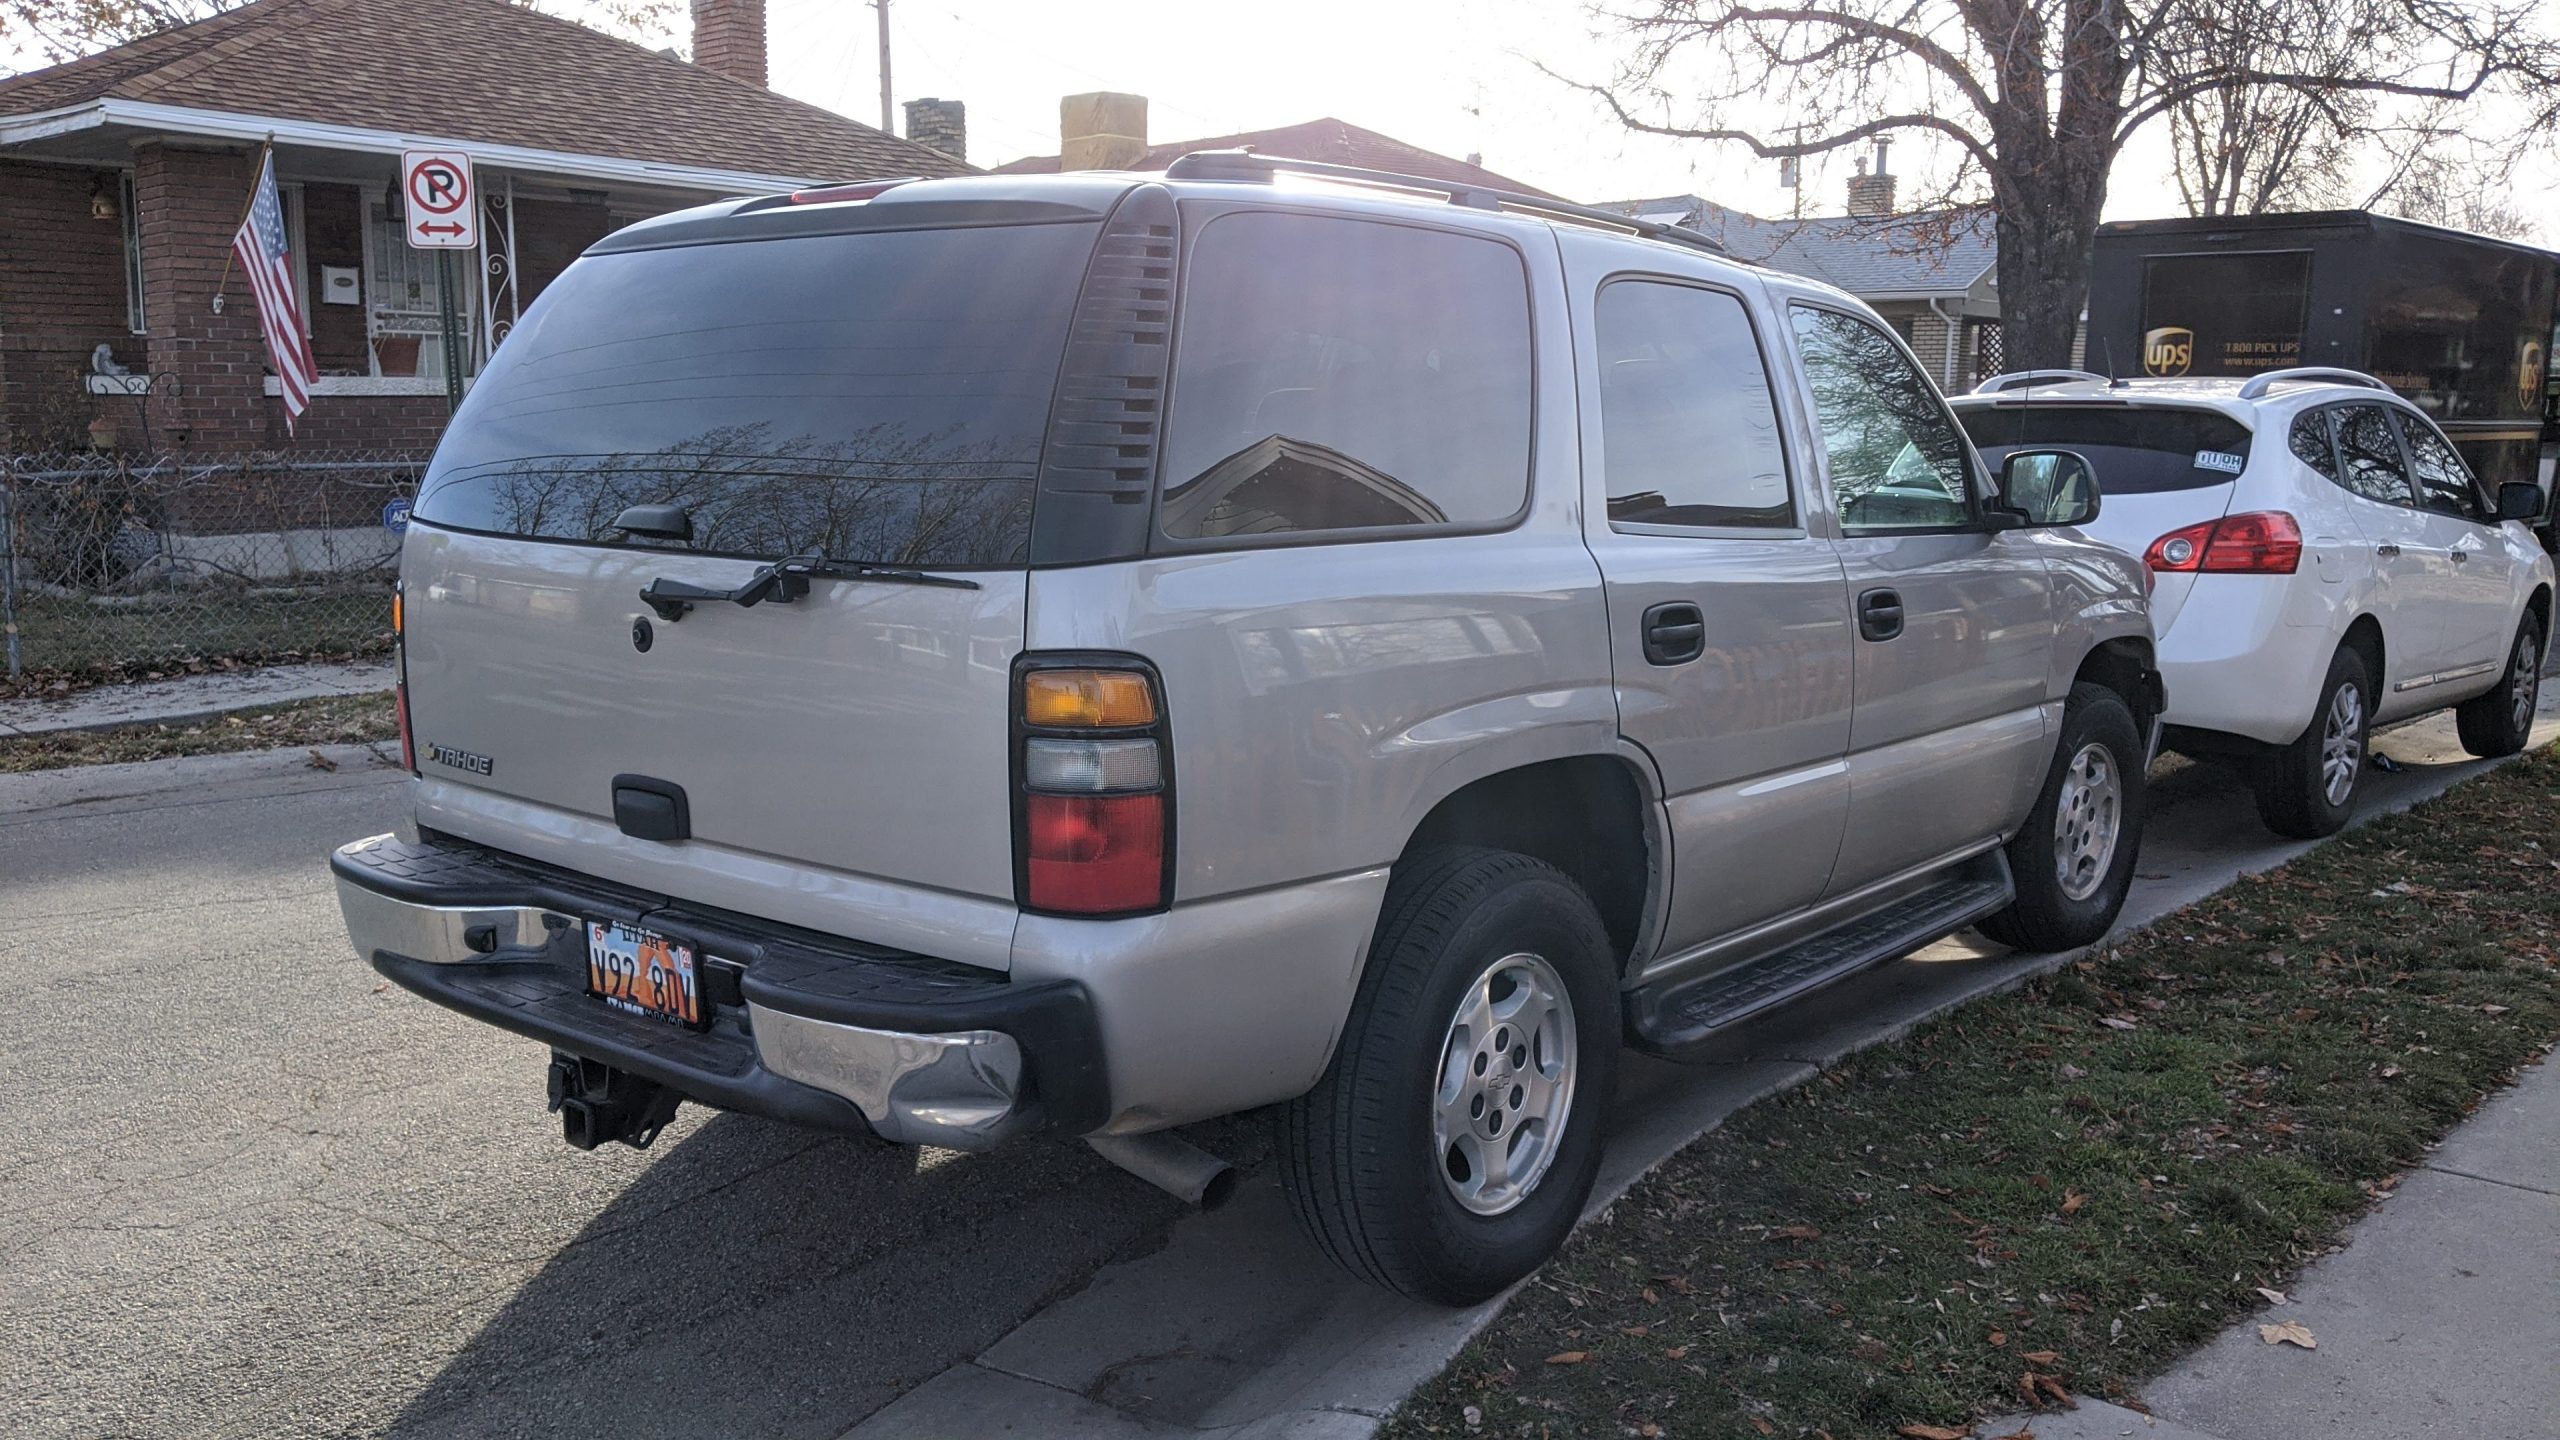
Eventually, I found a nice older gentleman selling this gently used 2006 Chevrolet Tahoe with just over 130,000 miles for $5,500. I ended up getting it for $5,200 and it is mechanically perfect. 130,000 miles is a little high for what I was looking for but these Tahoe’s are plentiful in my area and run forever. This one in particular has been very well taken care of and it even has the 5.3 liter V8, tow package, cruise control, and the front row bench seat (which our dogs love). Let the camper conversion begin!
Designing A Bed Platform
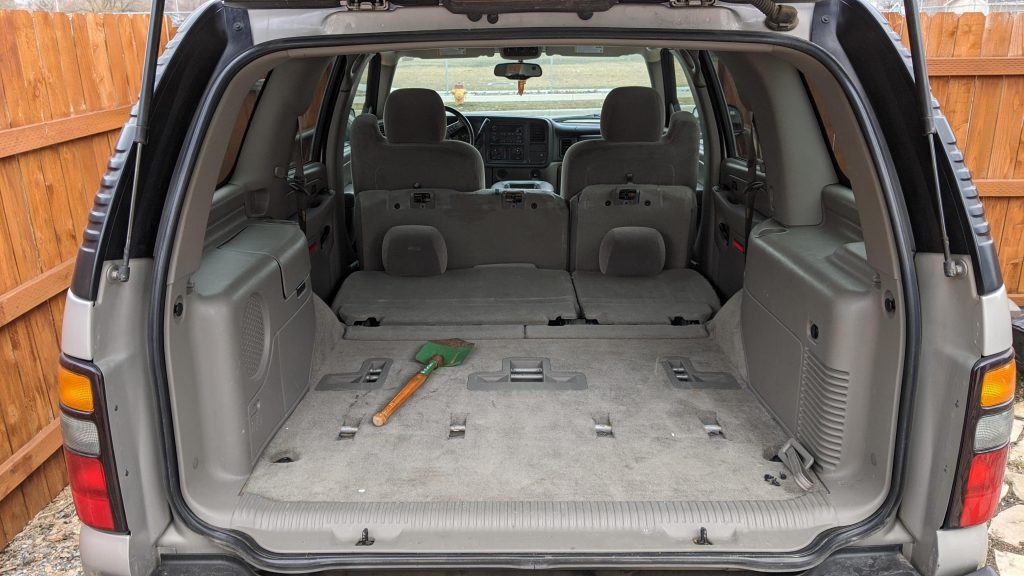
The first thing I did, after changing the oil and air filter, was take measurements for every possible thing that I could. I wanted to have enough space above the bed that I could sit comfortably but still have room for storage underneath. I also wanted something solid and stable that wouldn’t move too much when I found myself far off the paved road but could be removed easily when I wanted to use my Tahoe for non-camping things. Based on my measurements, I would be able to squeeze a full size bed in there (hopefully) which would be perfect for my little family.
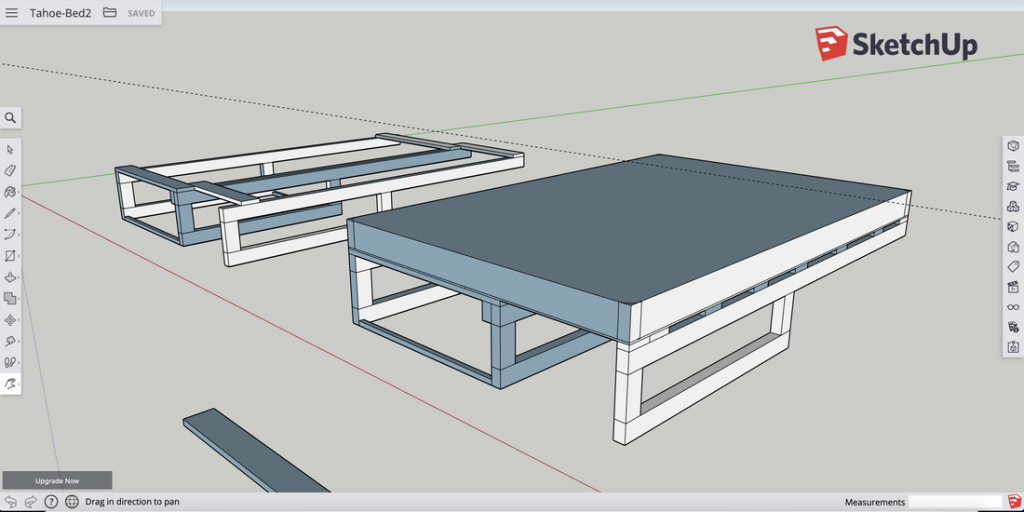
If you’ve never used SketchUp, it is hands down one of my favorite tools when it comes to any project. SketchUp is a freely available web application that is kind of like a really easy to use CAD program. Once I had all of my measurements, I was able to concept some bed ideas in SketchUp and estimate how much wood and hardware I would need to build everything based on those concepts. This helps me to keep my costs low but I also feel like it helps me to visualize my ideas better and address any design flaw early on.
The basis for my design is drawn from this great REI blog post I found that is part of a series on building camper vans. Since I didn’t have as much space to work with, I had to adapt some things to make it work in my own project. I used the sliding aspect of their bed to allow me to easily move and remove the bed as well as the capability to fold up one of the back seats if needed.
And Now My Work Begins
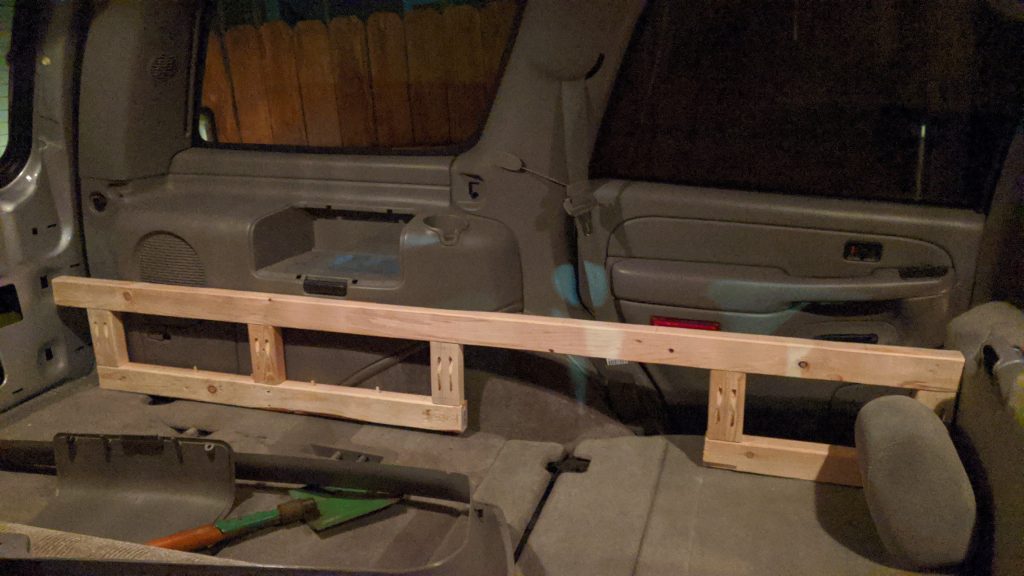
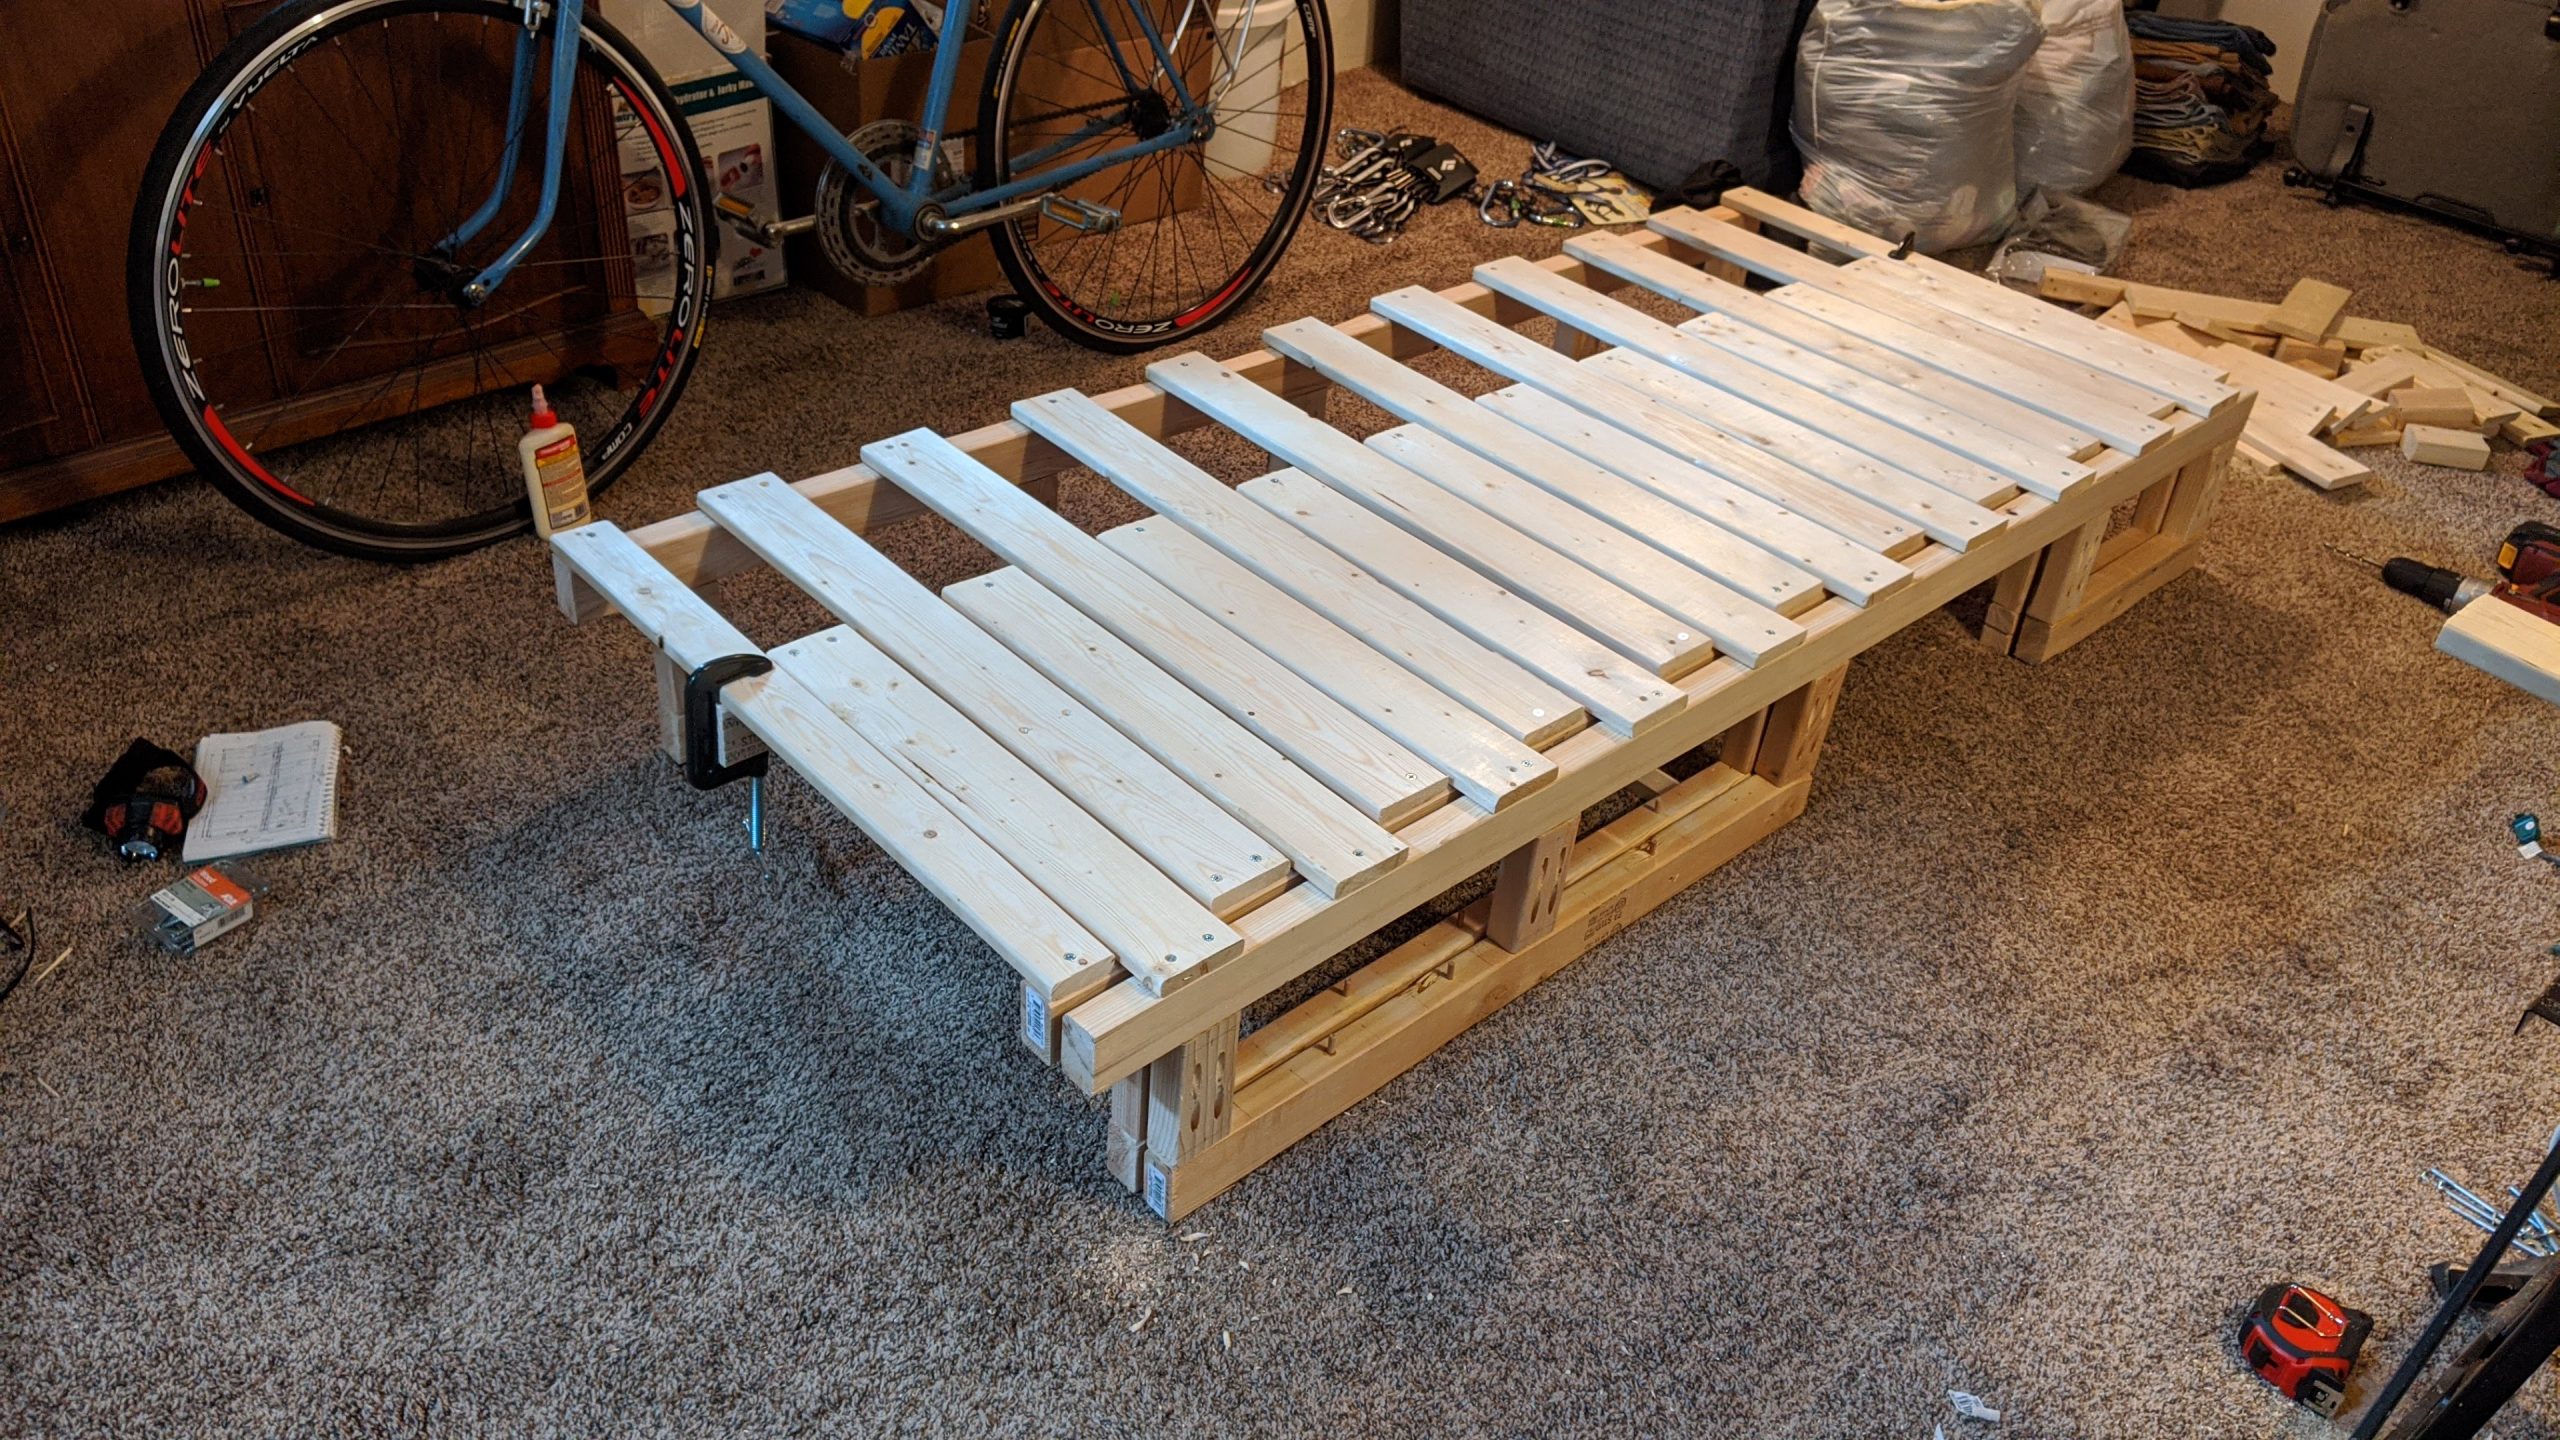
In an effort to keep things lightweight and minimal, I opted to build the main structure out of 2×3 wood instead of 2×4. I also connected most of the frame together with pocket holes in order to keep everything thin and out of the way. I knew I was sacrificing some strength this way but I utilized wood glue at every pocket hole connection and I hoped lateral movement wouldn’t matter once the bed was secured into the space.
In the picture above, you can see one side of the bed I completed and test fitted to make sure I had my measurements right before moving on to the rest of the structure. It’s a perfect fit and now I just have to make 2 more per my SketchUp plans. As many wood workers will tell you, measure twice, cut once!
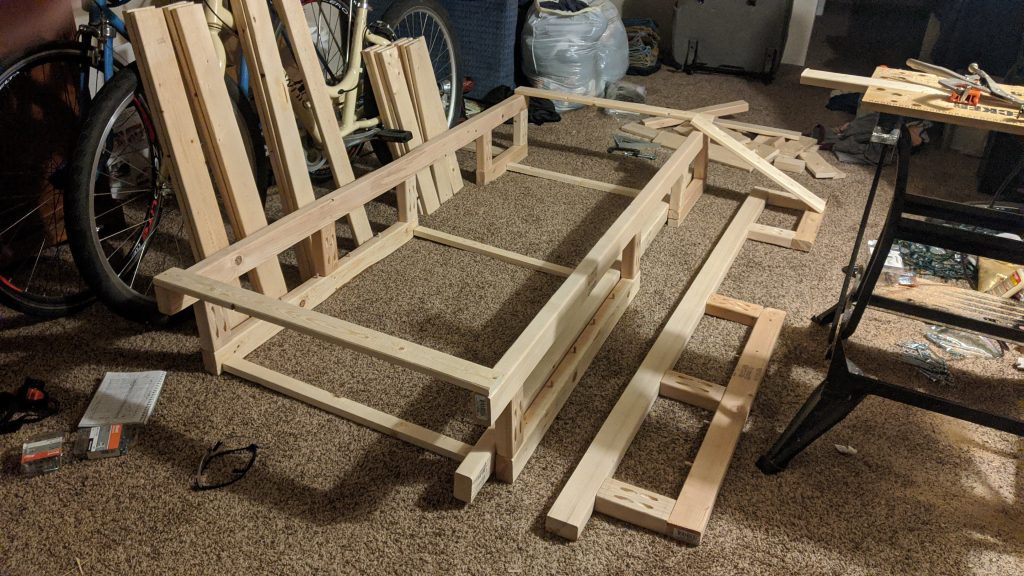
This is a few steps later but as you can see I’ve completed my two additional sides with my 2×3 lumber and my pocket hole jig. Once again, it’s worth noting that I added some wood glue to every pocket hole joint just incase the screws weren’t enough to hold everything together.
At this point, I also cut all of my 1×4 lumber to make the bed slats which can be seen in the top left of the picture leaning against our bikes. The longer slats are for the wider side and the shorter ones are for the smaller, slide out, part of the frame. I used SketchUp big time here to make sure I had my measurements right so when I slid open the bed it would be the exact width of my trunk space; 49 inches.
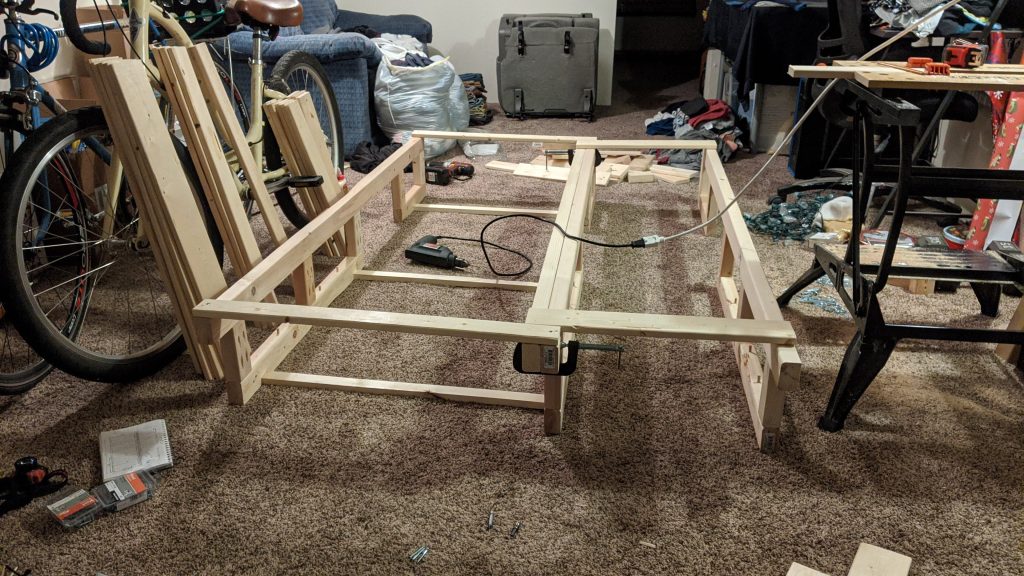
Here we are with all 3 core pieces done and the 1×4 slats on the end screwed in to make sure I got my width right. The trunk and bed are unfortunately just a few inches smaller than most full beds. That’s okay though, my measurements were right on the money and it ends up working out fine with most mattress options.
You can also see in this picture that I added 3 pieces of 1×2 along the bottom of the main piece just to complete the box and add to the structural integrity a bit. Once again, I utilized wood glue and pocket hole screws.
Next, I clamped my center pieces of 2×3 together and screwed in the farthest slats, being careful to make sure I screw in the correct slats to the correct 2×3. This will allow the whole thing to collapse together once it’s done.
Oh and I almost forgot, on the ends of the bigger box, I used some 1×3 instead of the 1×4 to try to reduce the difference in length between the two sides. In the REI version of the bed, this doesn’t matter since they finish the whole thing with a folding piece of plywood on top that covers up any gaps.
In my version, I made the game time decision to forego the plywood in order to keep overall weight and height as low as possible. Worst case scenario, I figured I can just make my shorter partner sleep on that side!

I tested out the under-bed storage a bit at this point. Miraculously, the folding feature works!

Finally, after a lot of measuring, cutting, drilling, and screwing, I had the rest of the 1×4 slats how I wanted them. I also discovered by sheer chance that this large plastic bin happens to perfectly fit into the space underneath the smaller side of the bed. Oh yeah, I think this will do nicely.
Everything is all screwed together and the folding works like a dream! The only thing I didn’t anticipate is that the smaller side tips inward when it’s folded in (hence the C clamps in this picture). Oh well, maybe I will address that in future builds but it doesn’t cause too many problems at this point. Now, all that is left to do is to throw it in the Tahoe and test it out!
Assembling Everything Into My Tahoe
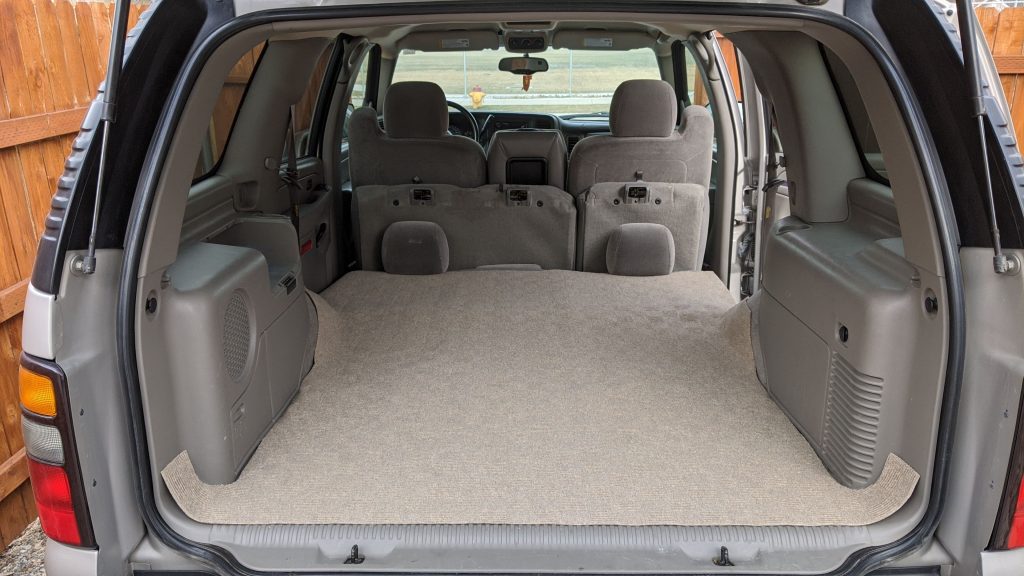
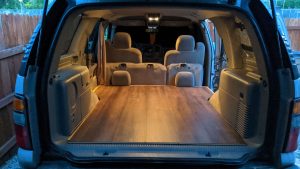
I came across this indoor/outdoor carpet at Costco for about $10 that just so happened to match my interior perfectly. I decided to lay it in the back to protect the original carpet and the folded middle seats from any stains and grime I was sure to encounter on many outdoor adventures. It almost fit perfectly but I cut out the sides just a bit to make fit around the back and lay flatter. It also covered up all of the metal hardware in the trunk from the removable third row seats, which was nice. Did I mention my Tahoe can comfortably seat nine people?
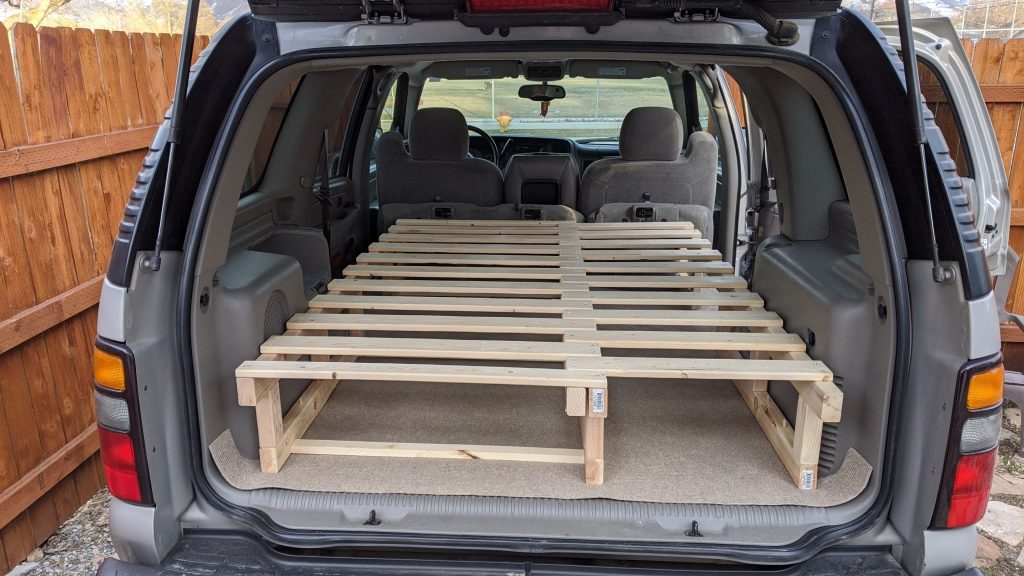
The bed is in and I honestly had to take a moment to admire my own handy work here. It fit as if Chevrolet had built it to be an optional part! My last modification was to drill a 7/16″ hole at the front and back of the middle 2x3s and fit a couple of 4 inch bolts with washers and nuts through. It just closed the small gap that can be seen here and ensures that bed stays open and stable no matter what.
I also didn’t get a good picture of it but when you slide in the right side of the bed, the smaller back seat on the passenger side is able to be flipped up. This allows me to have 4 people in the car while hauling the bed (3 on the front bench, 1 in the backseat).
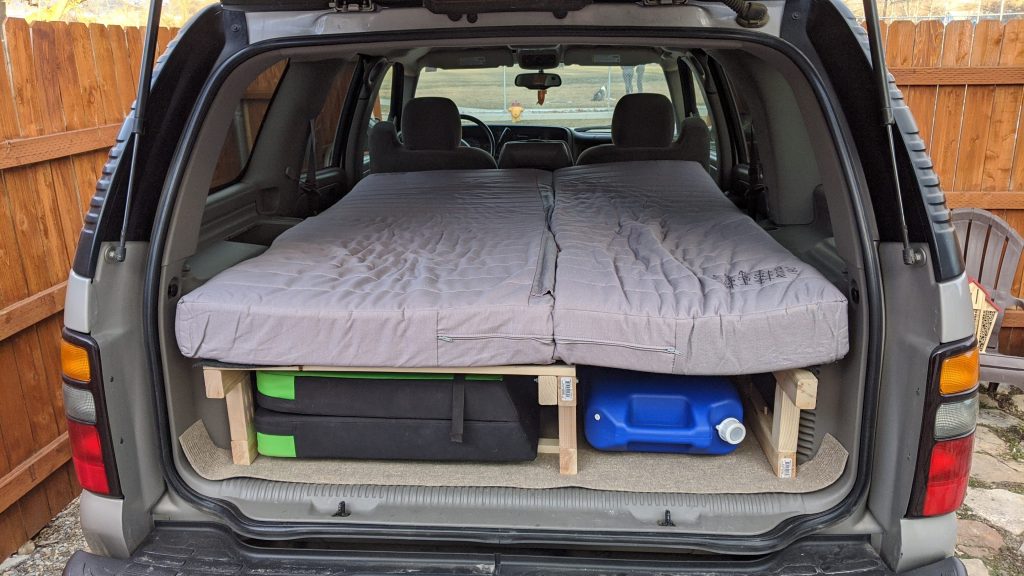
Eager to test things out, I threw this Ikea futon mattress in the back. As I mentioned earlier, the back area is just a few inches thinner than a full size mattress so this bed is a bit squished in there. If it weren’t squished, it would be totally flat on that right side instead of wavy looking.
This isn’t a major problem because I plan to purchase a 4 inch foam mattress and cut it to fit perfectly so I won’t ruin my futon. At this stage, I also tested out putting my Metolius Session II crashpad in the back and a 6 gallon water jug I plan to take when I head out on climbing trips. It’s a perfect fit!
Materials Used And Cost
Most of the wood and hardware I used for this project I actually already had on hand. If you are looking to build something similar, I definitely recommend taking account of what you have around the house and visit your local construction recycling stores for discounted materials. Places like Home Depot or Lowe’s also have bins of scrap wood that can often times be a discount treasure trove.
Here is what this project ended up needing:
- 4 pieces of 2×3, 78 inches long
- 3 pieces of 2×3, 36 inches long
- 3 pieces of 2×3, 18 inches long
- 14 pieces of 2×3, 5.5 inches long
- 9 pieces of 1×4, 30.5 inches long
- 10 pieces of 1×4, 21.5 inches long
- 2 pieces of 1×3, 30.5 inches long
- 3 pieces of 1×2, 27.5 inches long
- 80 #8 1 1/2 inch wood screws
- 62 Kreg 2 inch pocket screws
- Titebond Wood Glue
If you calculate out the pieces and measure correctly, you should end up needing about six 8′ pieces of 2×3, six 8′ pieces of 1×4, one 8′ piece of 2×3, and one 8′ piece of 1×2. If you include the wood screws, pocket screws, and wood glue, this comes out to about $60 even at my local Home Depot.
Don’t forget, you will need a Kreg Pocket Hole Jig, a saw of some kind, and a drill for this build. But also keep mind, you might have a friend with one or all of these things who would gladly let you use them!
Final Thoughts
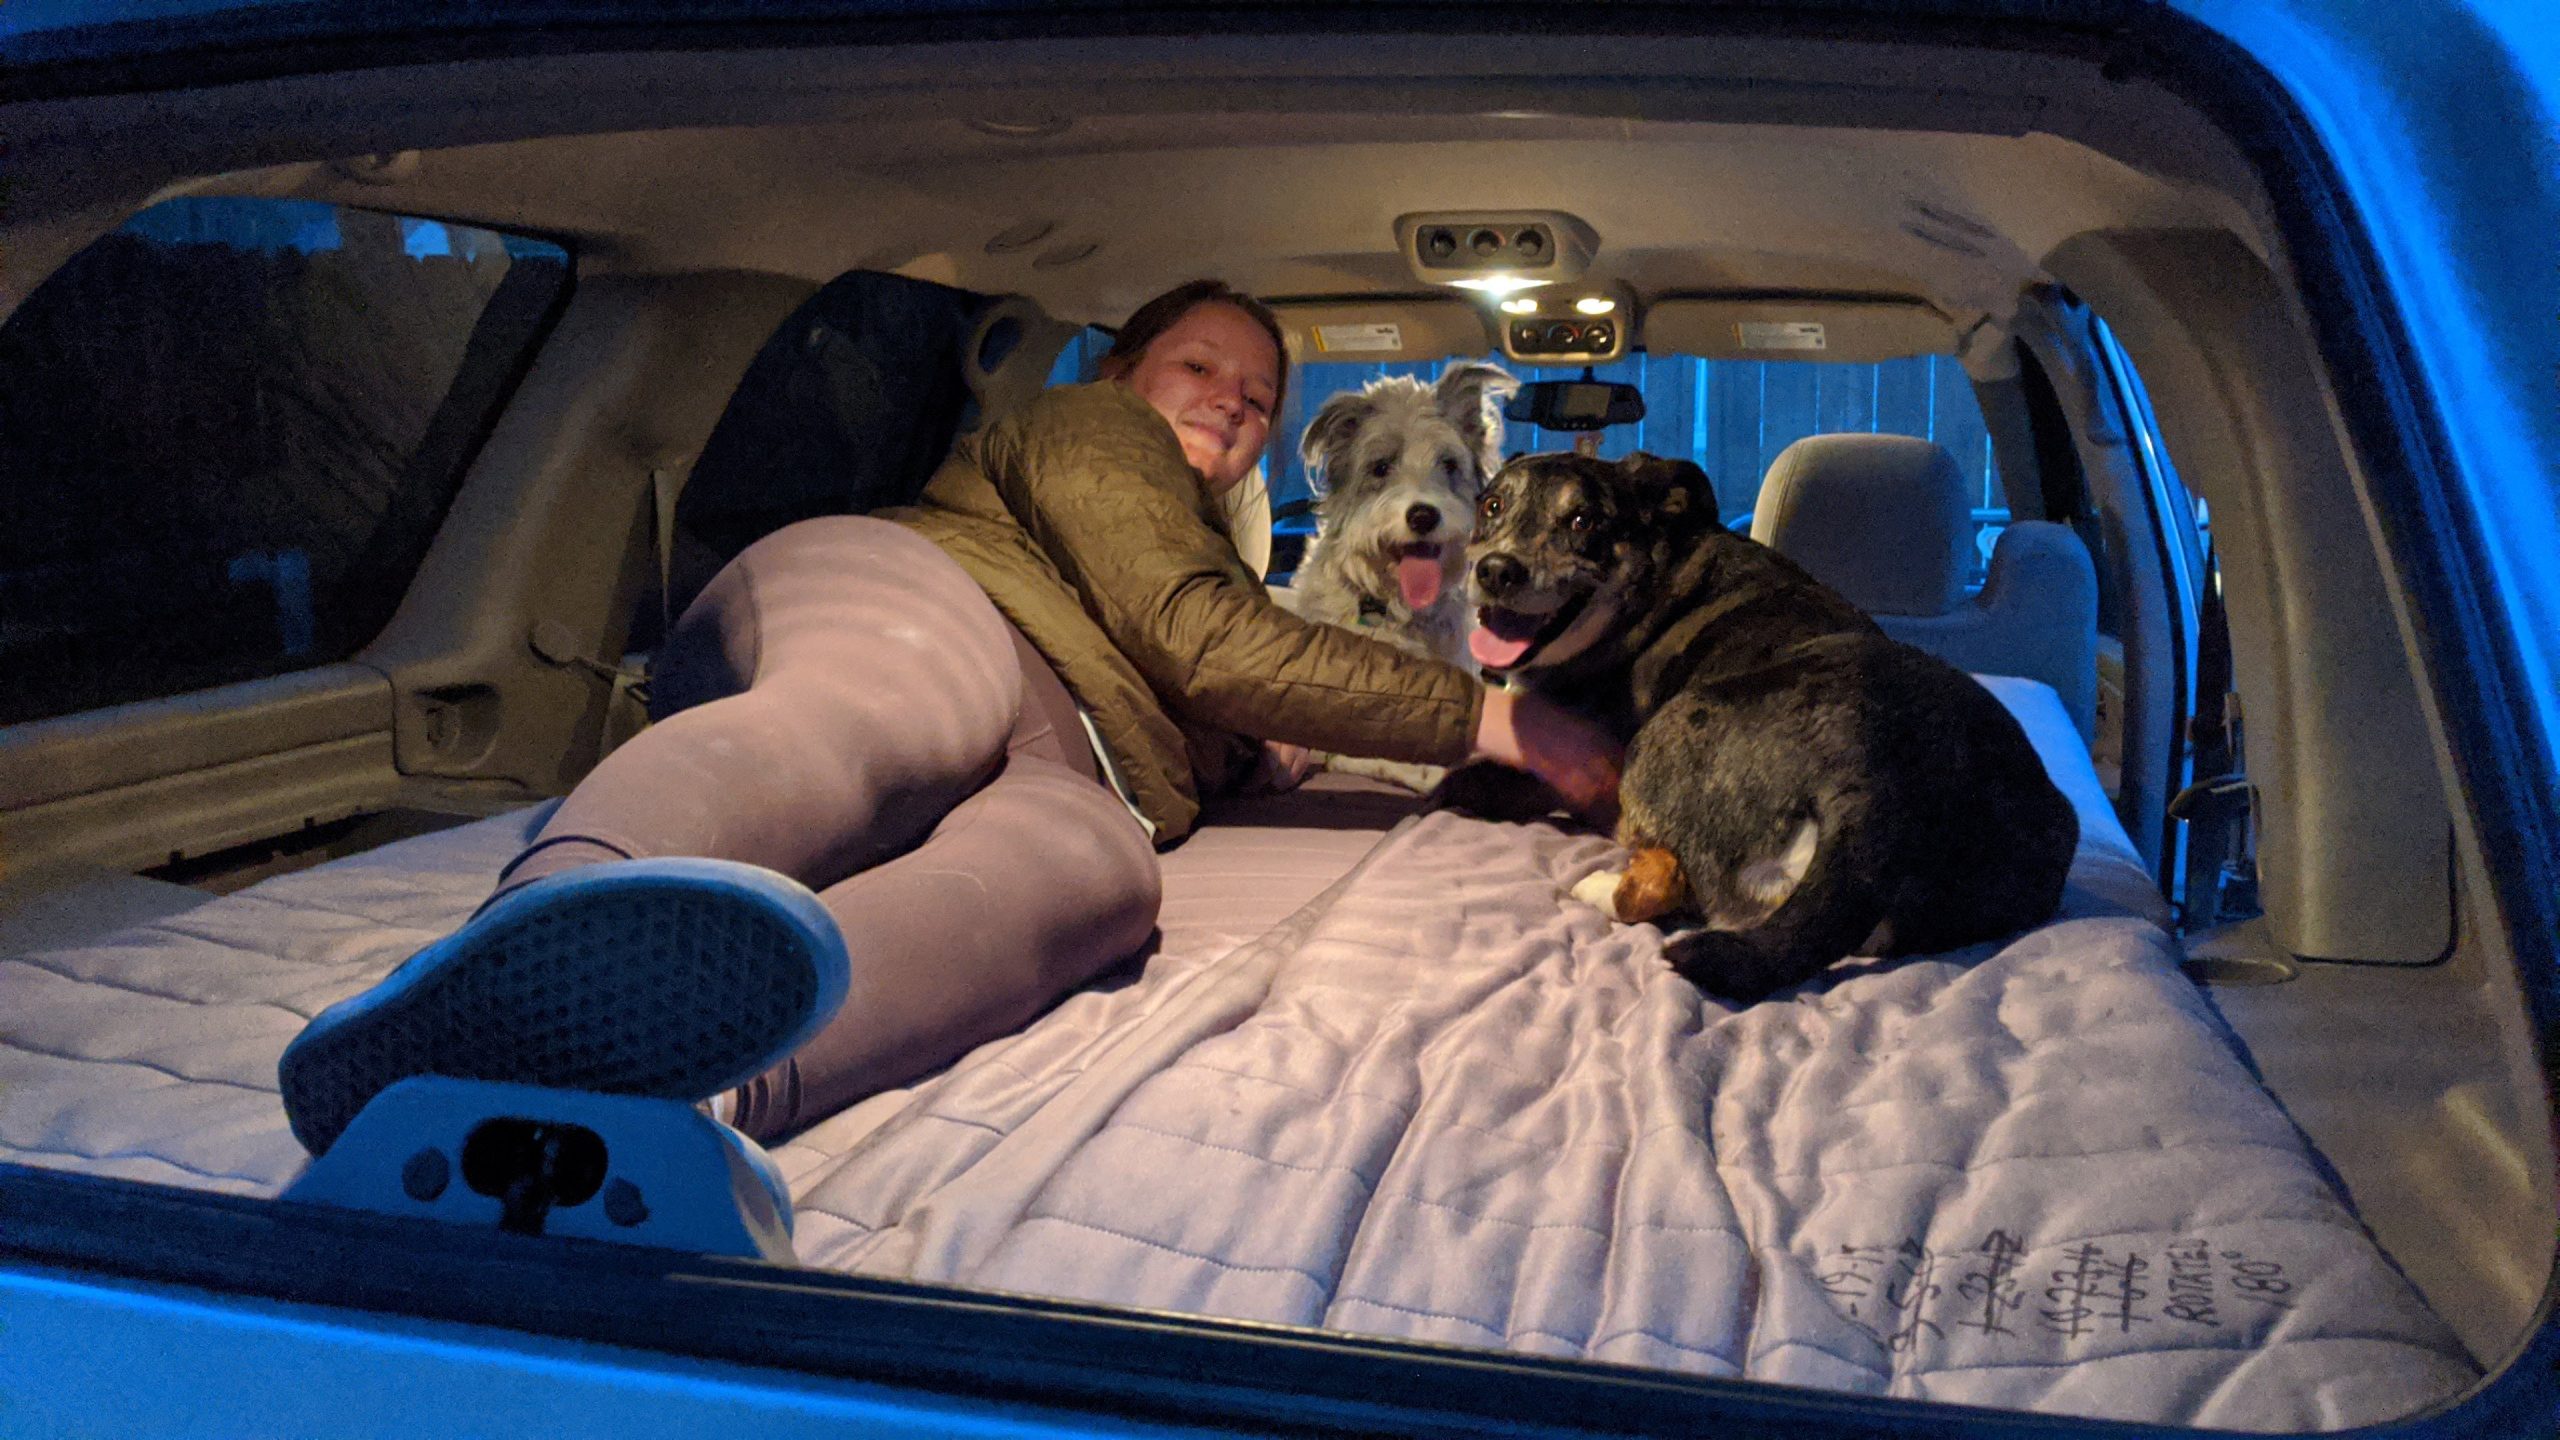
The last and most important certification I needed, the pup approval! Ready to roll out!
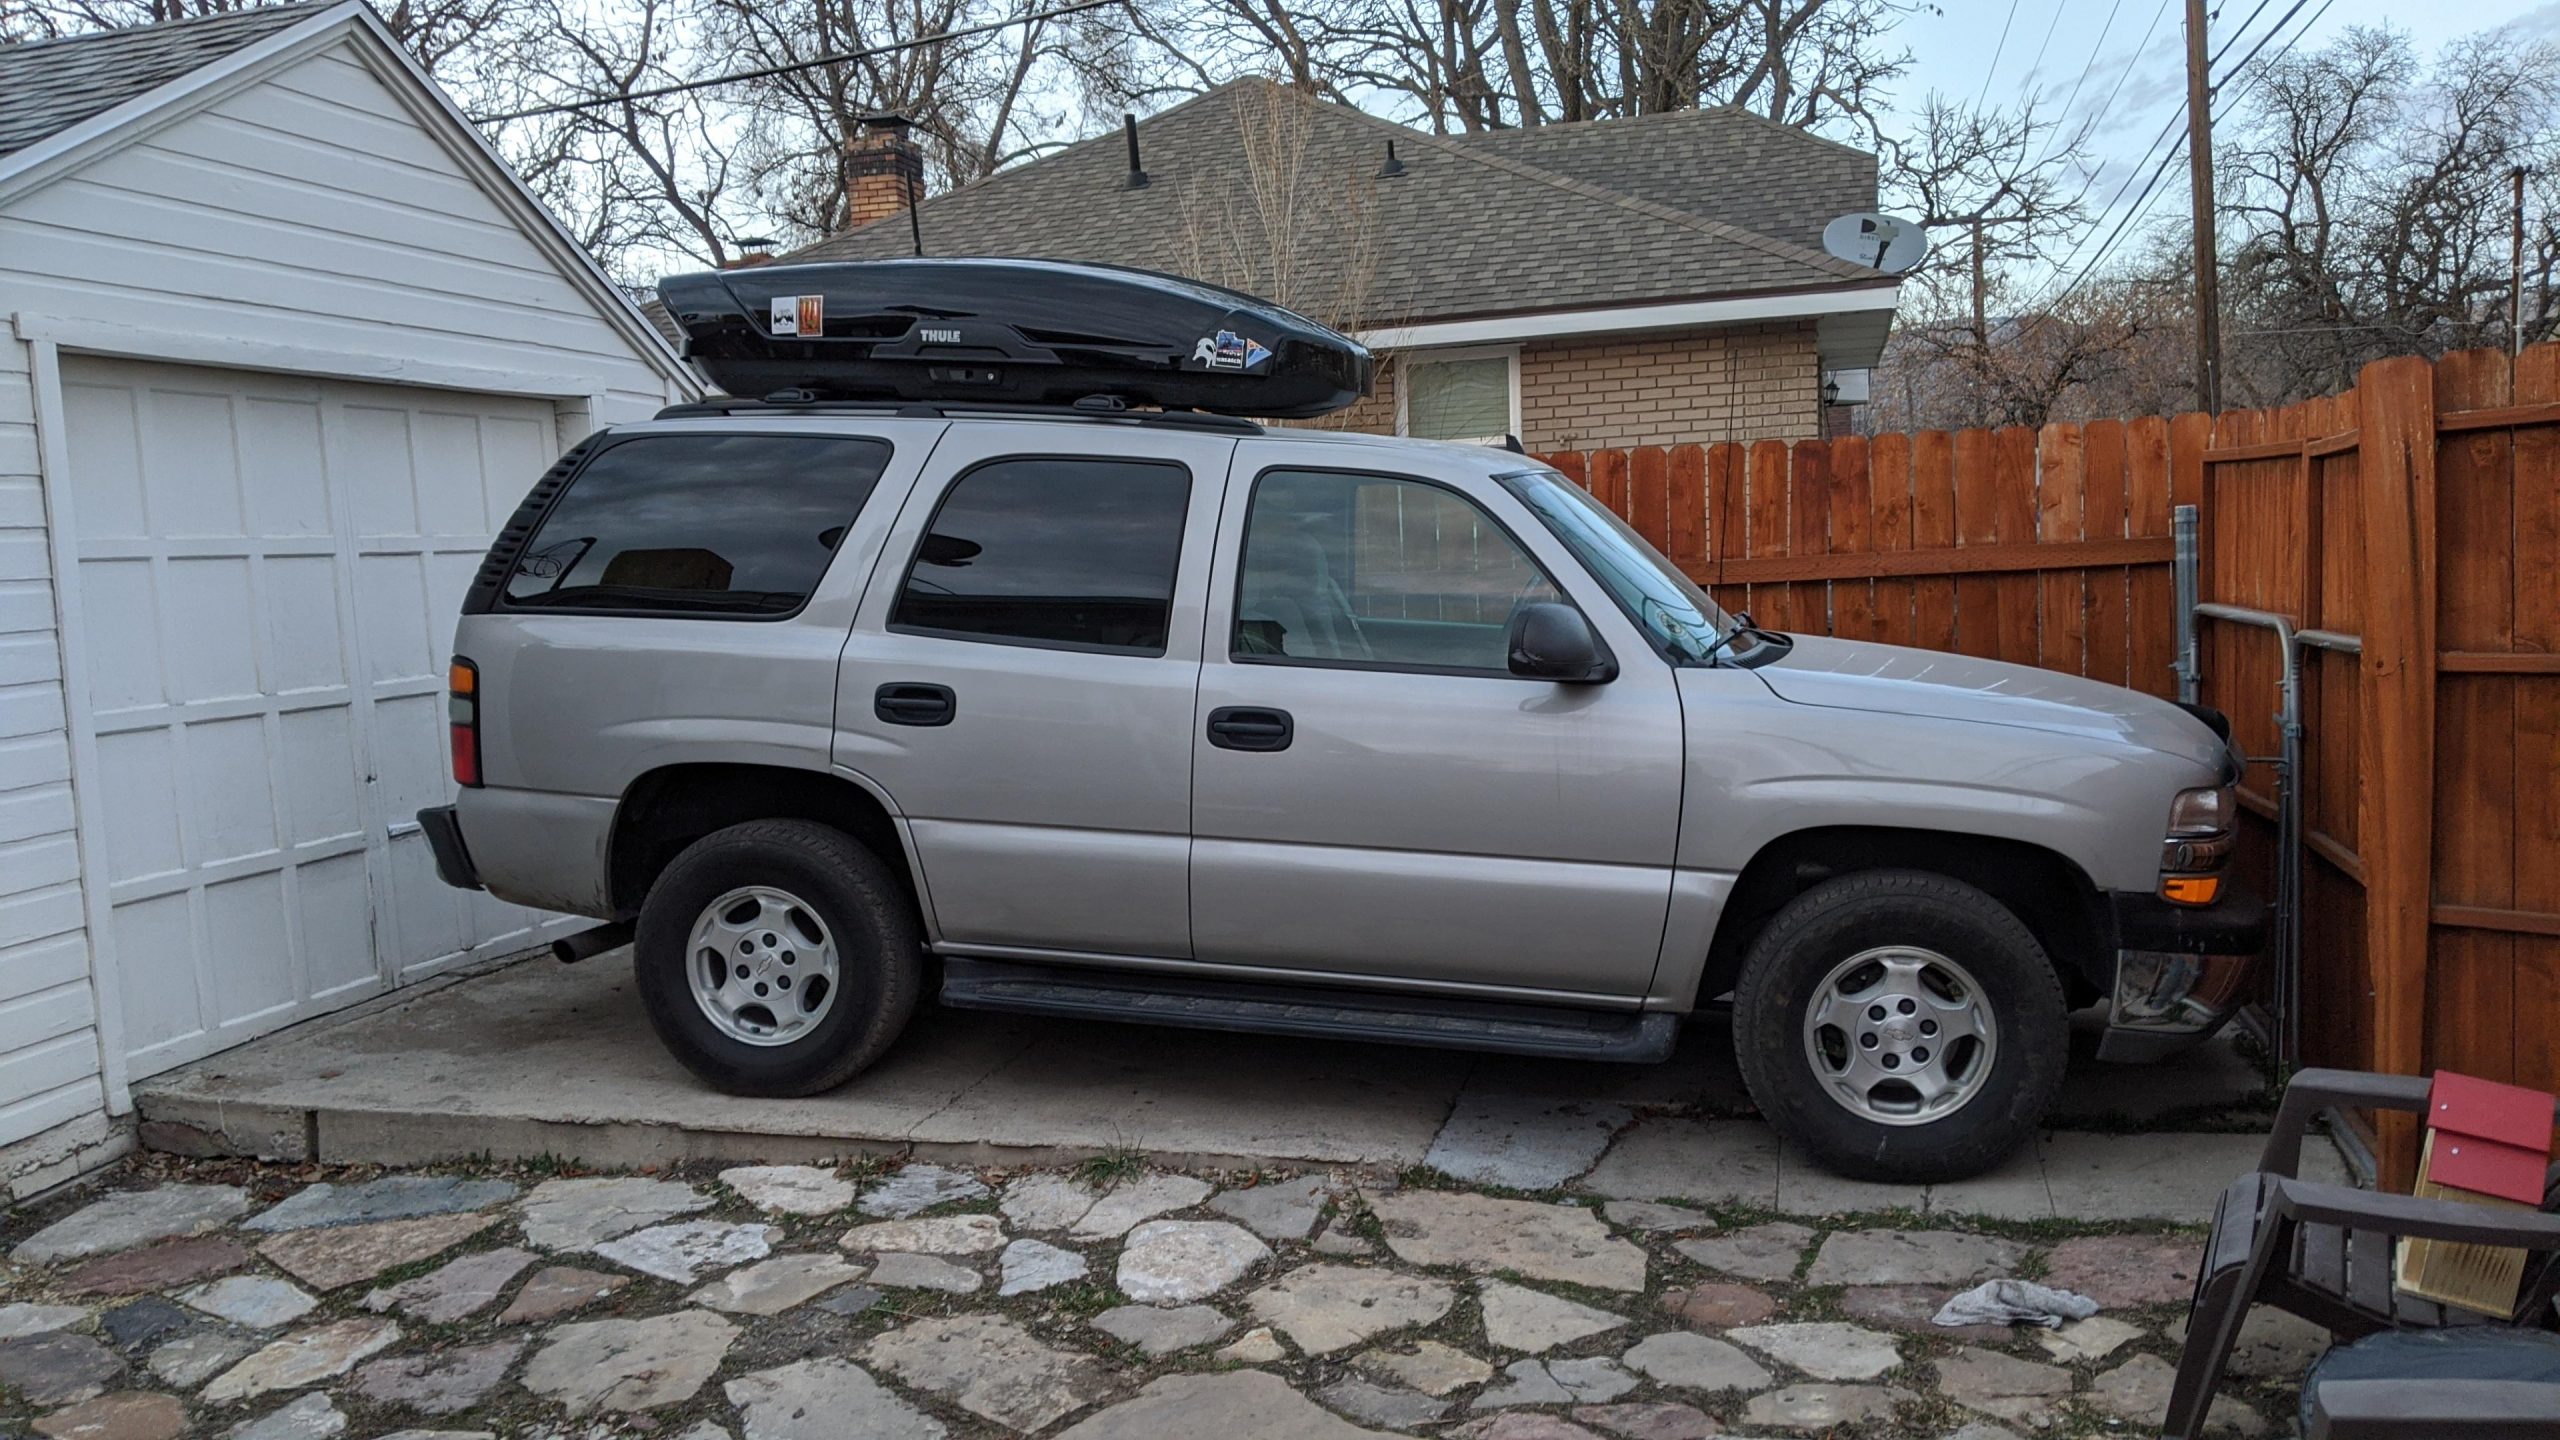
The final addition was this Thule Motion XT XL roof box I got from a friend of mine. I hadn’t planned on having a cargo box like this in my original plans which is why I created the space underneath the bed for storage. With this I’m thinking I will be able to take even longer expeditions! I also can fit quite a few snowboards up there in the winter or any amount of climbing gear in the summer. Should make for some good adventures!
At this point, I am excited to take her out on her first voyage and test out my custom sleeping quarters. Personally, I don’t think I will need much more than this for the long weekend trips to the crag or multi-day road-trips that I plan on taking this year. I never intended to build something like a Sprinter van to live in for months at a time but I did want something I could sleep in comfortably while traveling, exploring, climbing, and hiking, and I think this fits the bill.
Even though I just finished the main project, I am already dreaming of some upgrades and changes I want to make for the future which I will definitely continue to share on here. Thanks for reading!


Pingback: First Outings with my Chevy Tahoe Camper Conversion – Skighlife
Pingback: How I Built An Adjustable, Freestanding, DIY Home Climbing Wall – Skighlife
Pingback: My 4×4 Adventure on the White Rim Road – Skighlife
Pingback: Low Budget Camper Conversion in a Nissan Rogue - Skighlife
Pingback: Best Blankets For Winter Camping - Skighlife
Pingback: Installing a Wood Floor in my Chevy Tahoe Camper - Skighlife
Pingback: Storage Shelves in my Chevy Tahoe Truck Camper - Skighlife
Hi Trevor! I am currently looking into building something very similar for my chevrolet tahoe. It would be extremely helpfull if I could receive your drawings made! Many thanks in advance.
Nice build! Keep it simple. How long is the bed you built? Or: how long would the max space between front seats and tail gate potentially be (I’m hoping close to 80”)? I’m 6’4” and am considering both a Tahoe and Suburban for a rig like yours.
Hey Joost! I actually don’t have this set up any more so I can’t verify but I’m pretty sure the bed frame’s length was about 78 inches. You can potentially get a few more inches from the width of the back seats folded forward if you removed them or built your bed to go over them. You could even gain a few more if you slide the front seats forward but I think you would fit, your feet just might be against the back window lol. A Suburban is longer and would give you plenty of space but I opted for the Tahoe because it’s shorter wheel base; better approach, departure, ramp over. Plus it fit in my driveway!